• CANON VISUAL SCAVENGER HUNT
    • EOS R5 Mark II/R6 Mark II Autofocus
    • EOS R5/R6 Autofocus
    • Live Concert 2021-Present
    • live concert 2018-2020
    • travel
    • National Parks
  • Video Content
  • portraits
  • design
  • Zine
  • blog
  • about
Menu

Heather Krut

create & be free
  • CANON
    • CANON VISUAL SCAVENGER HUNT
    • EOS R5 Mark II/R6 Mark II Autofocus
    • EOS R5/R6 Autofocus
  • live concert
    • Live Concert 2021-Present
    • live concert 2018-2020
  • Travel
    • travel
    • National Parks
  • Video Content
  • portraits
  • design
  • Zine
  • blog
  • about
×

NEED some guidance on the task items?

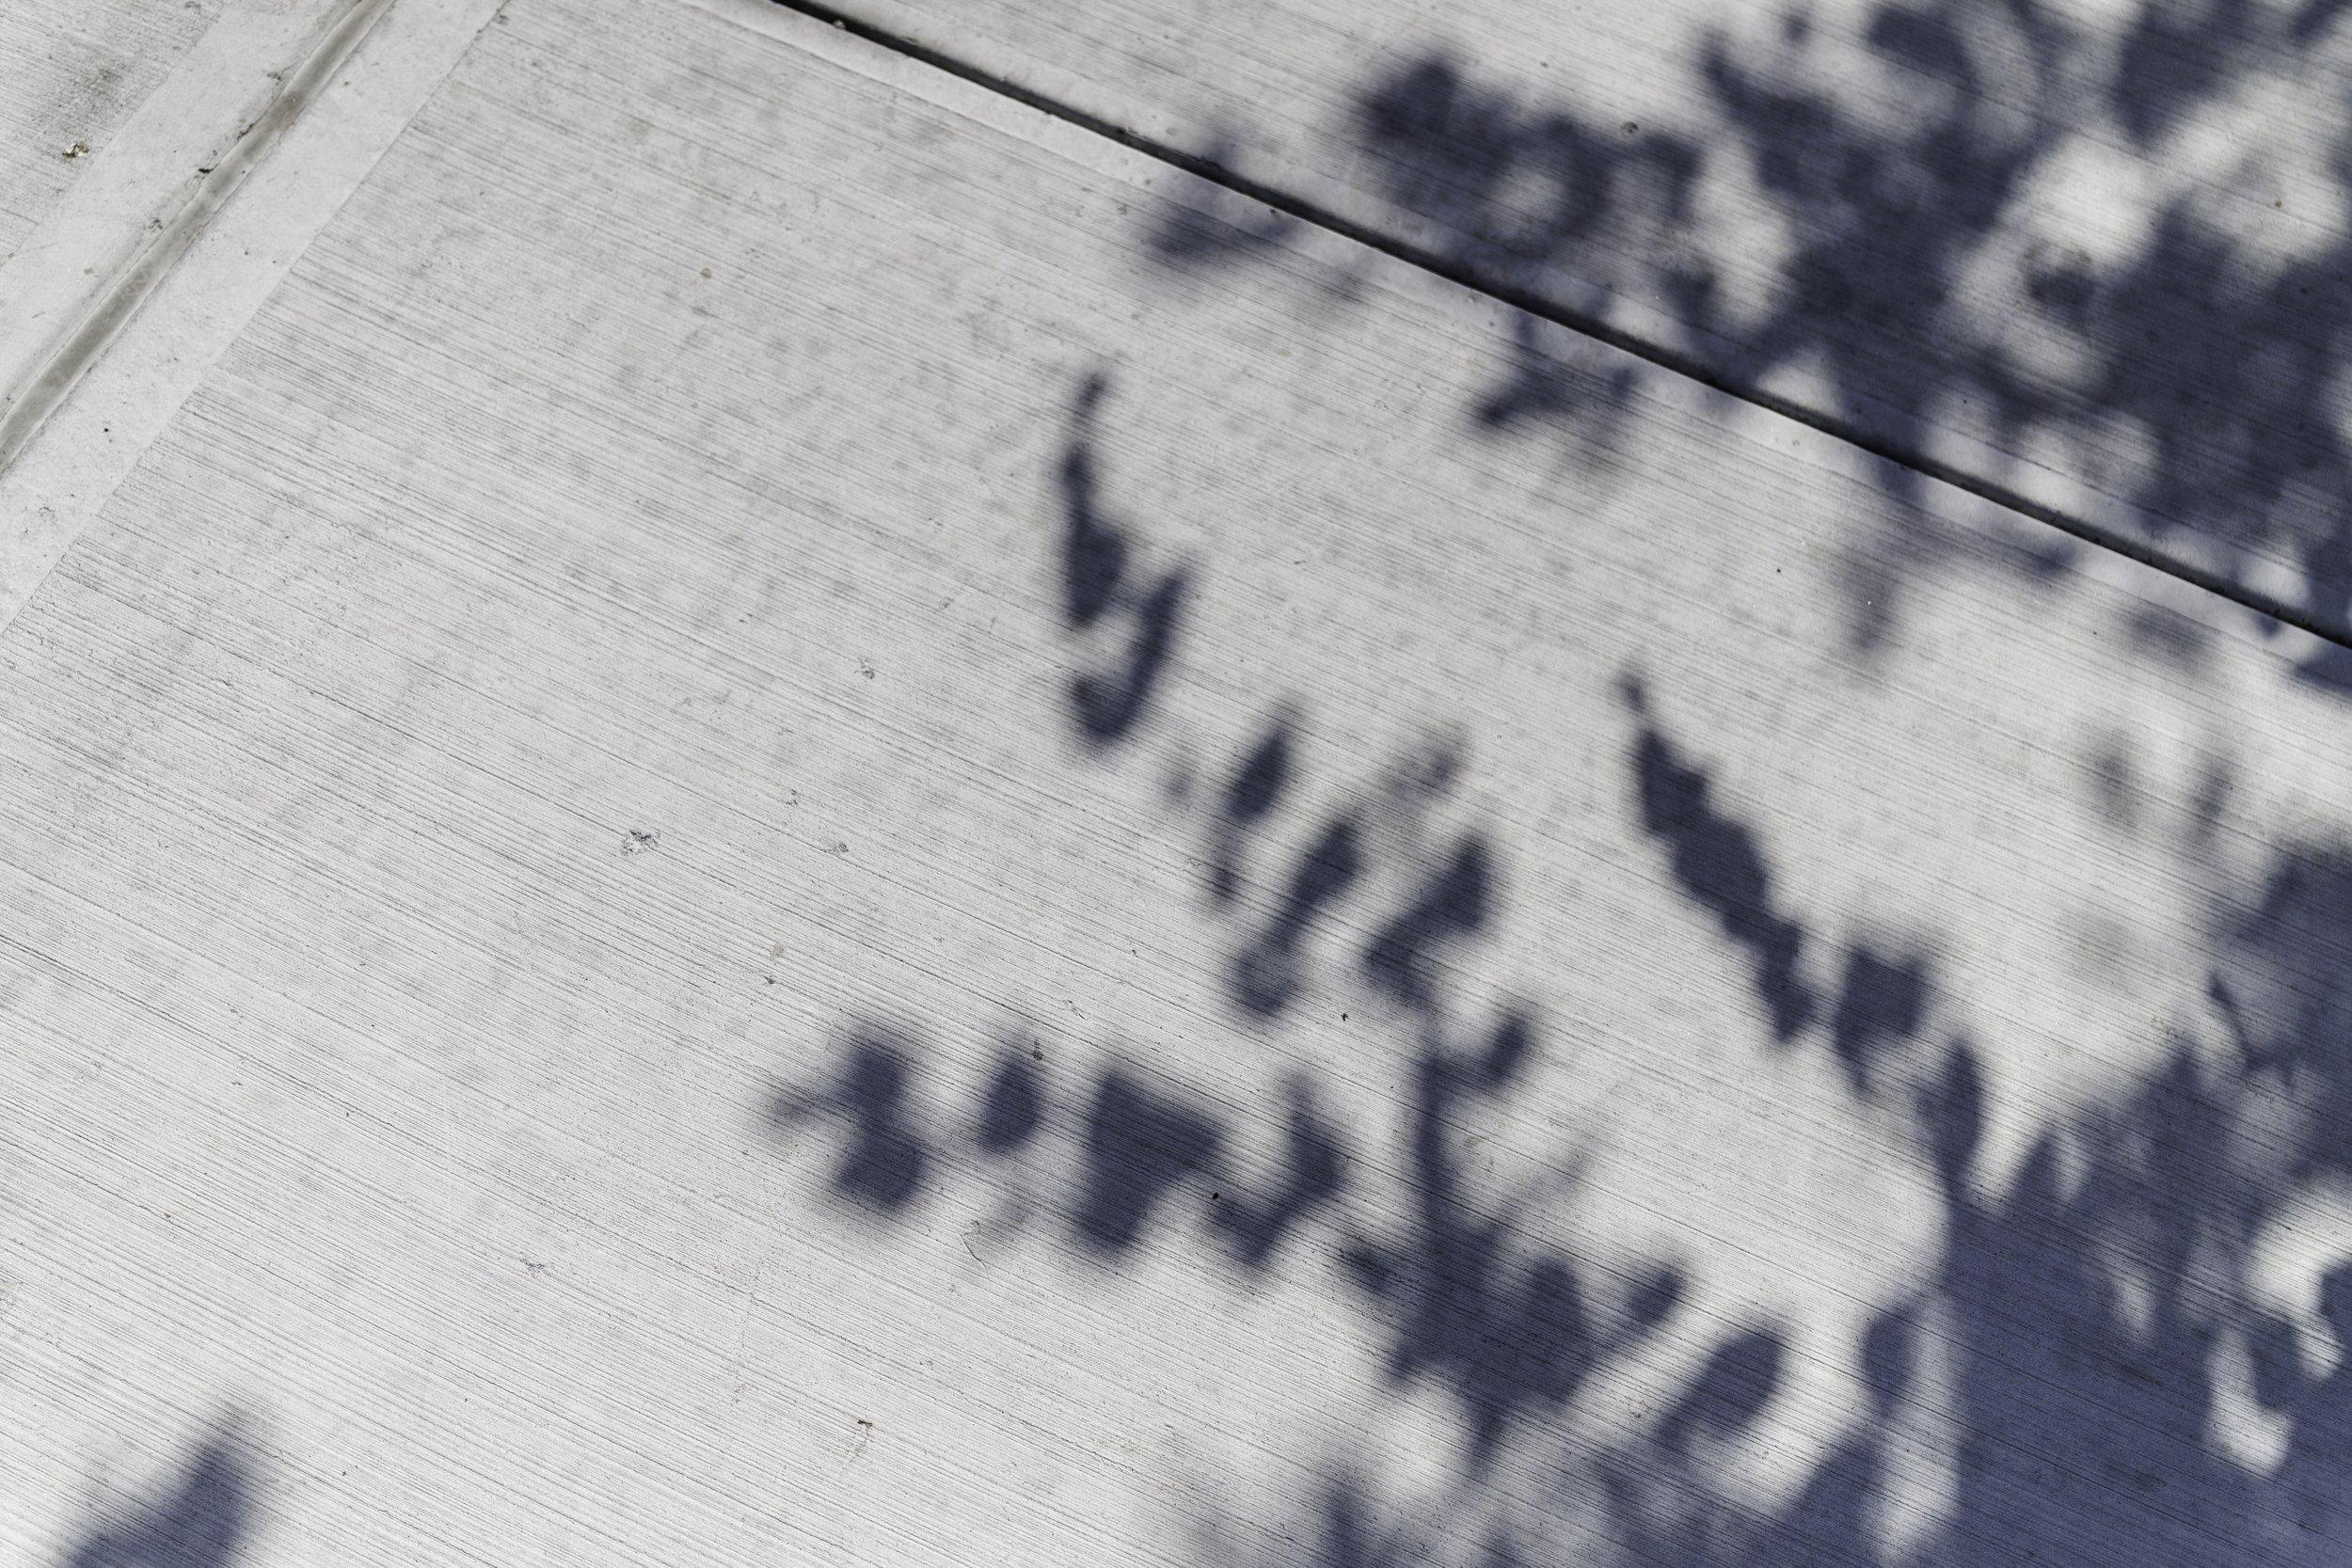
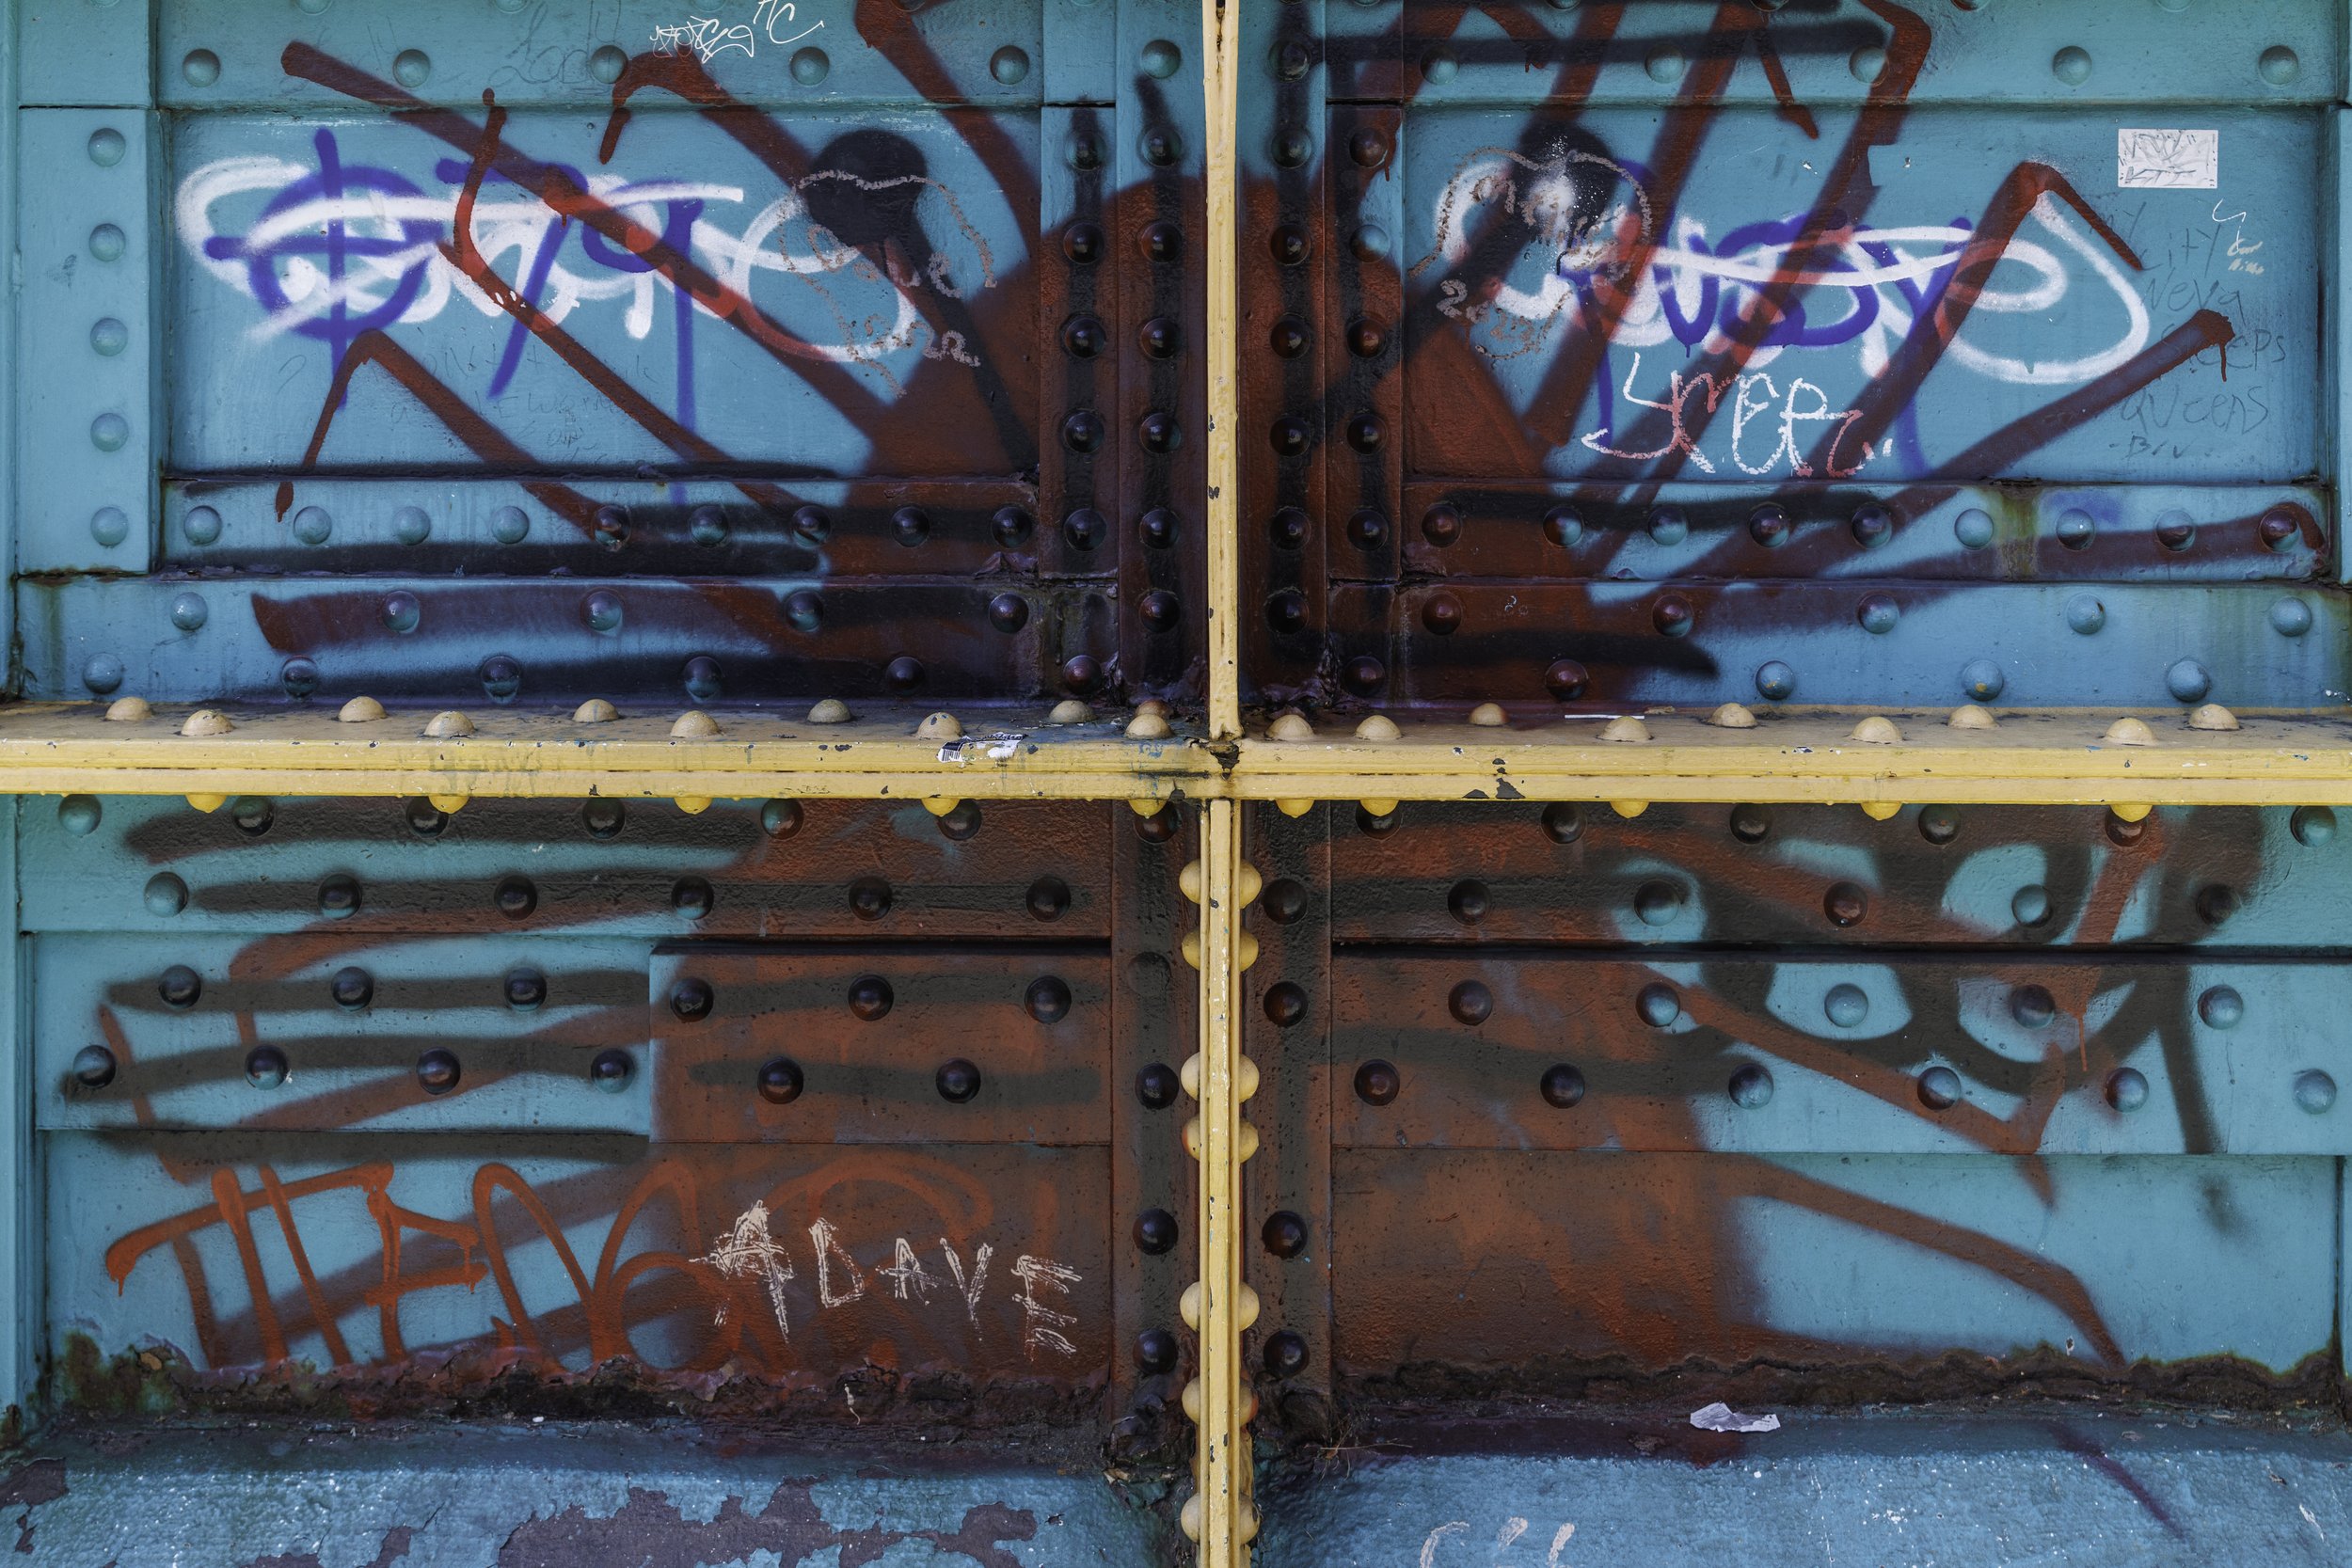
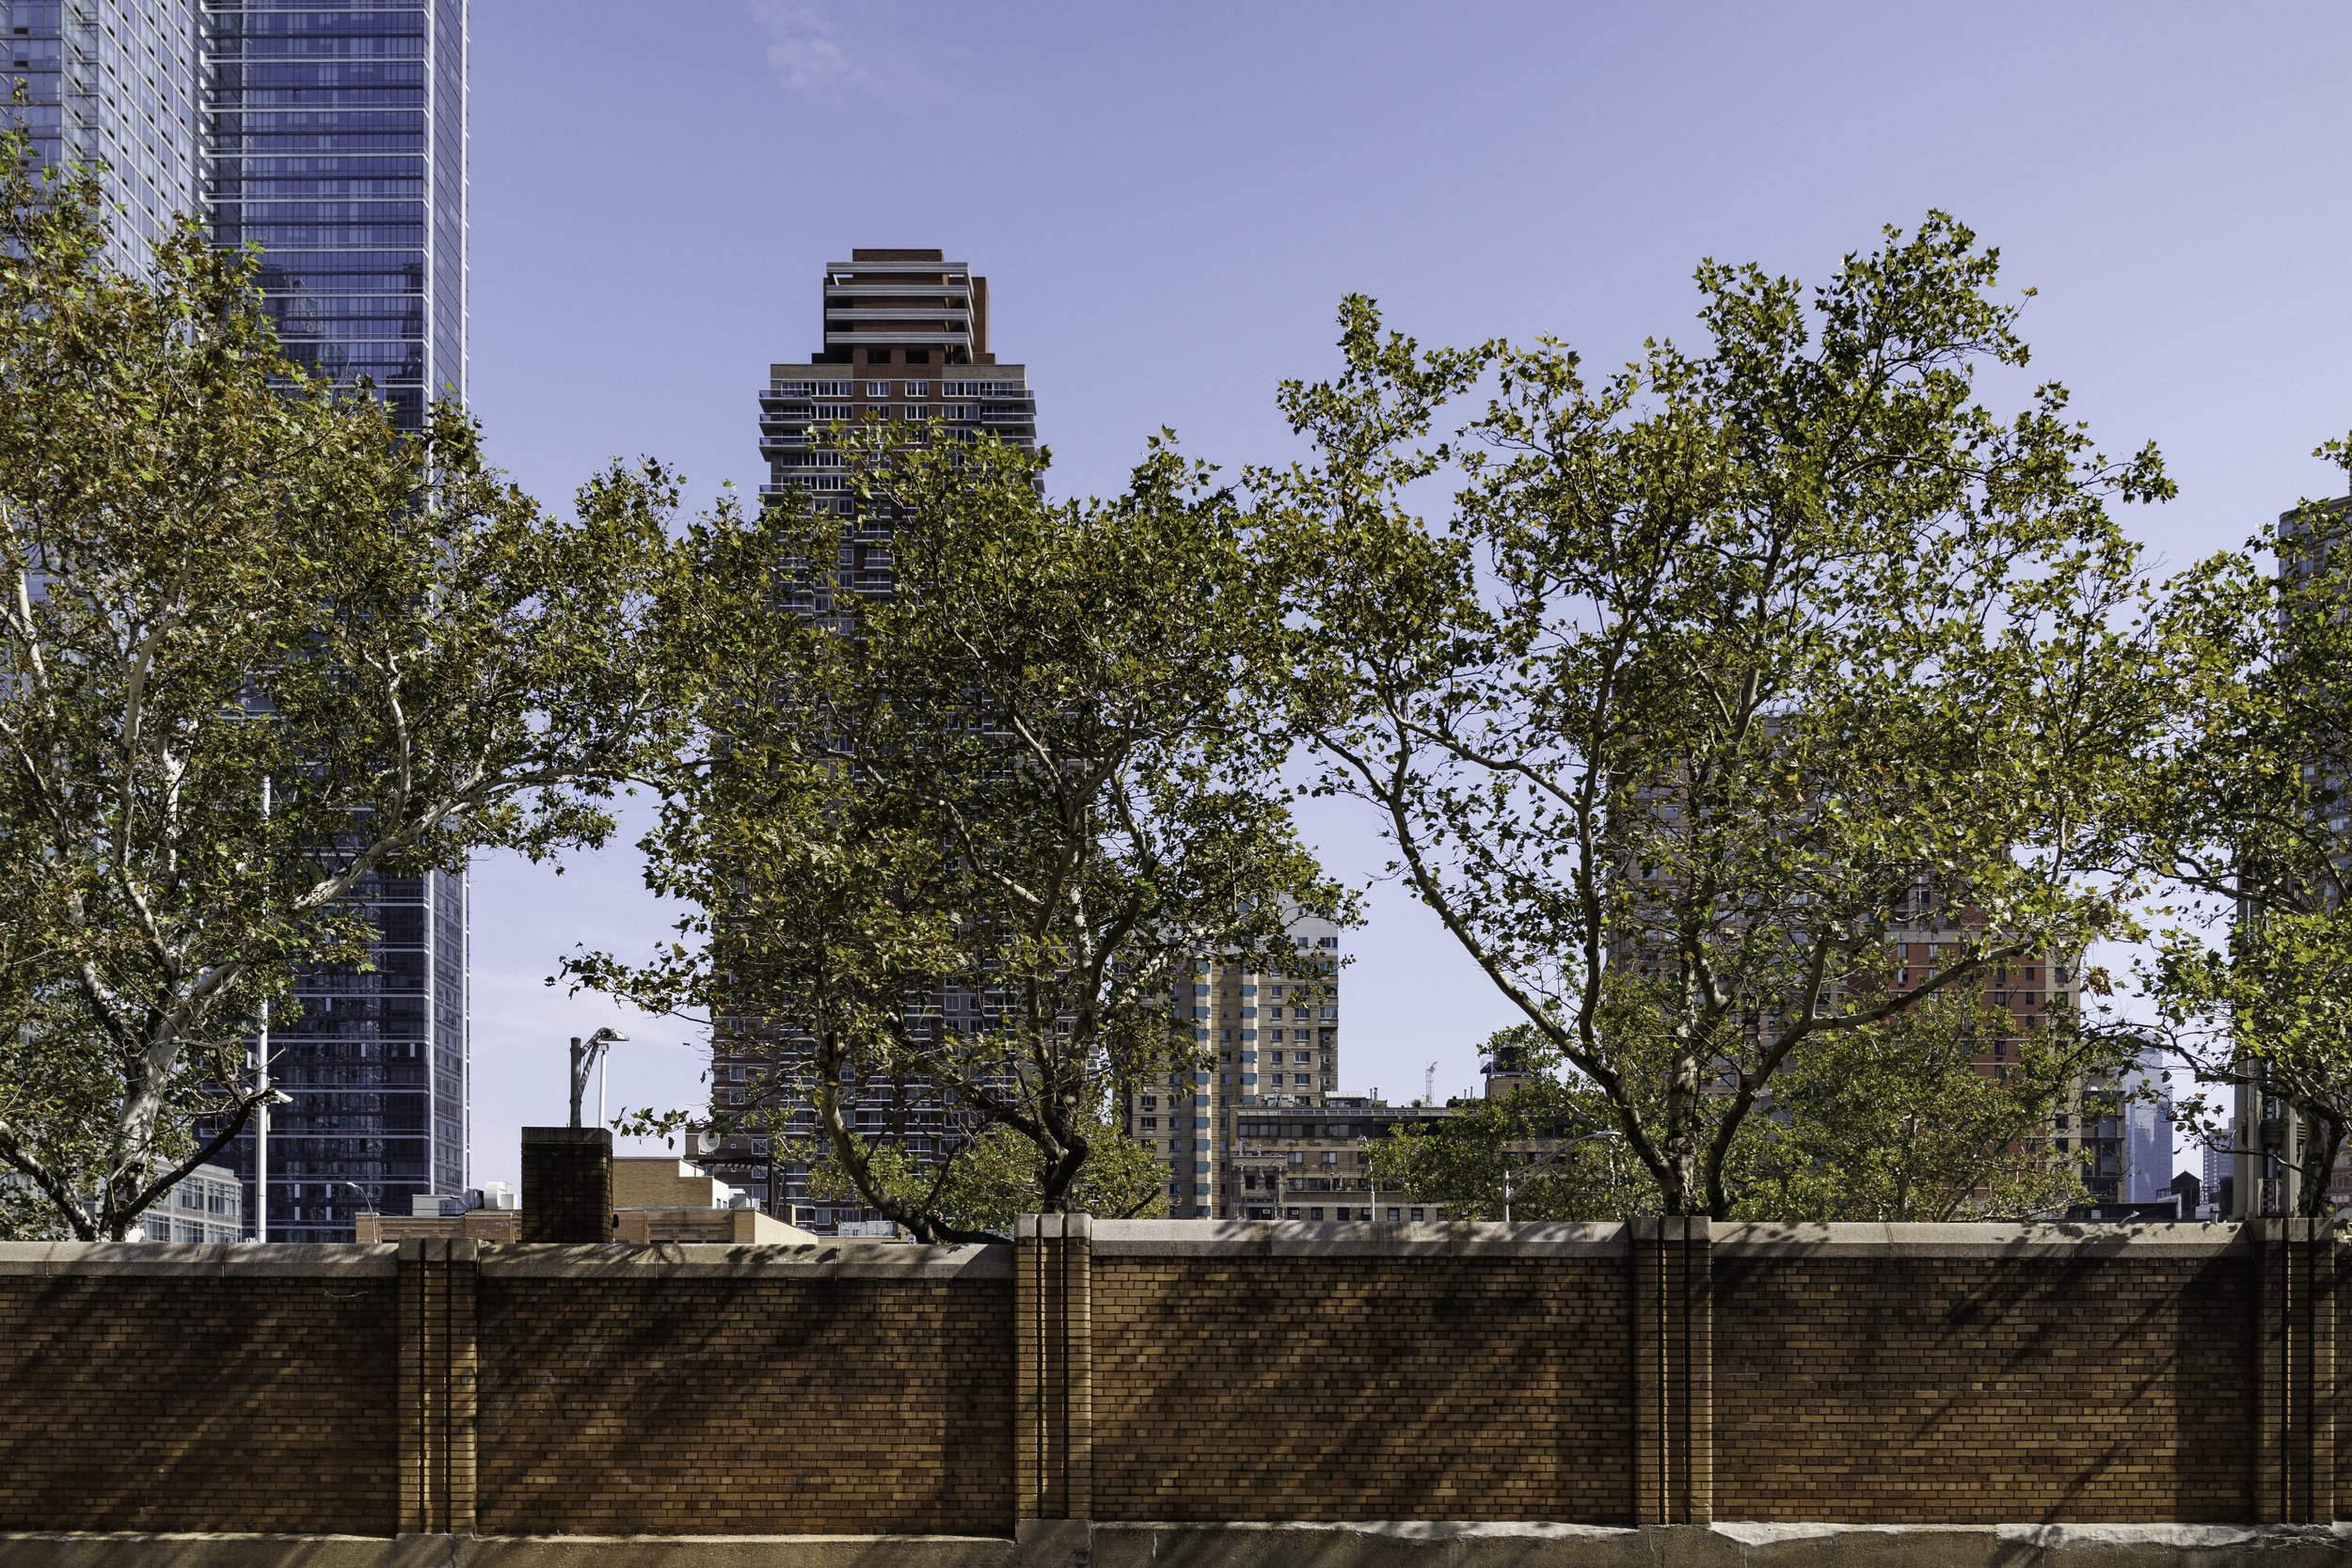
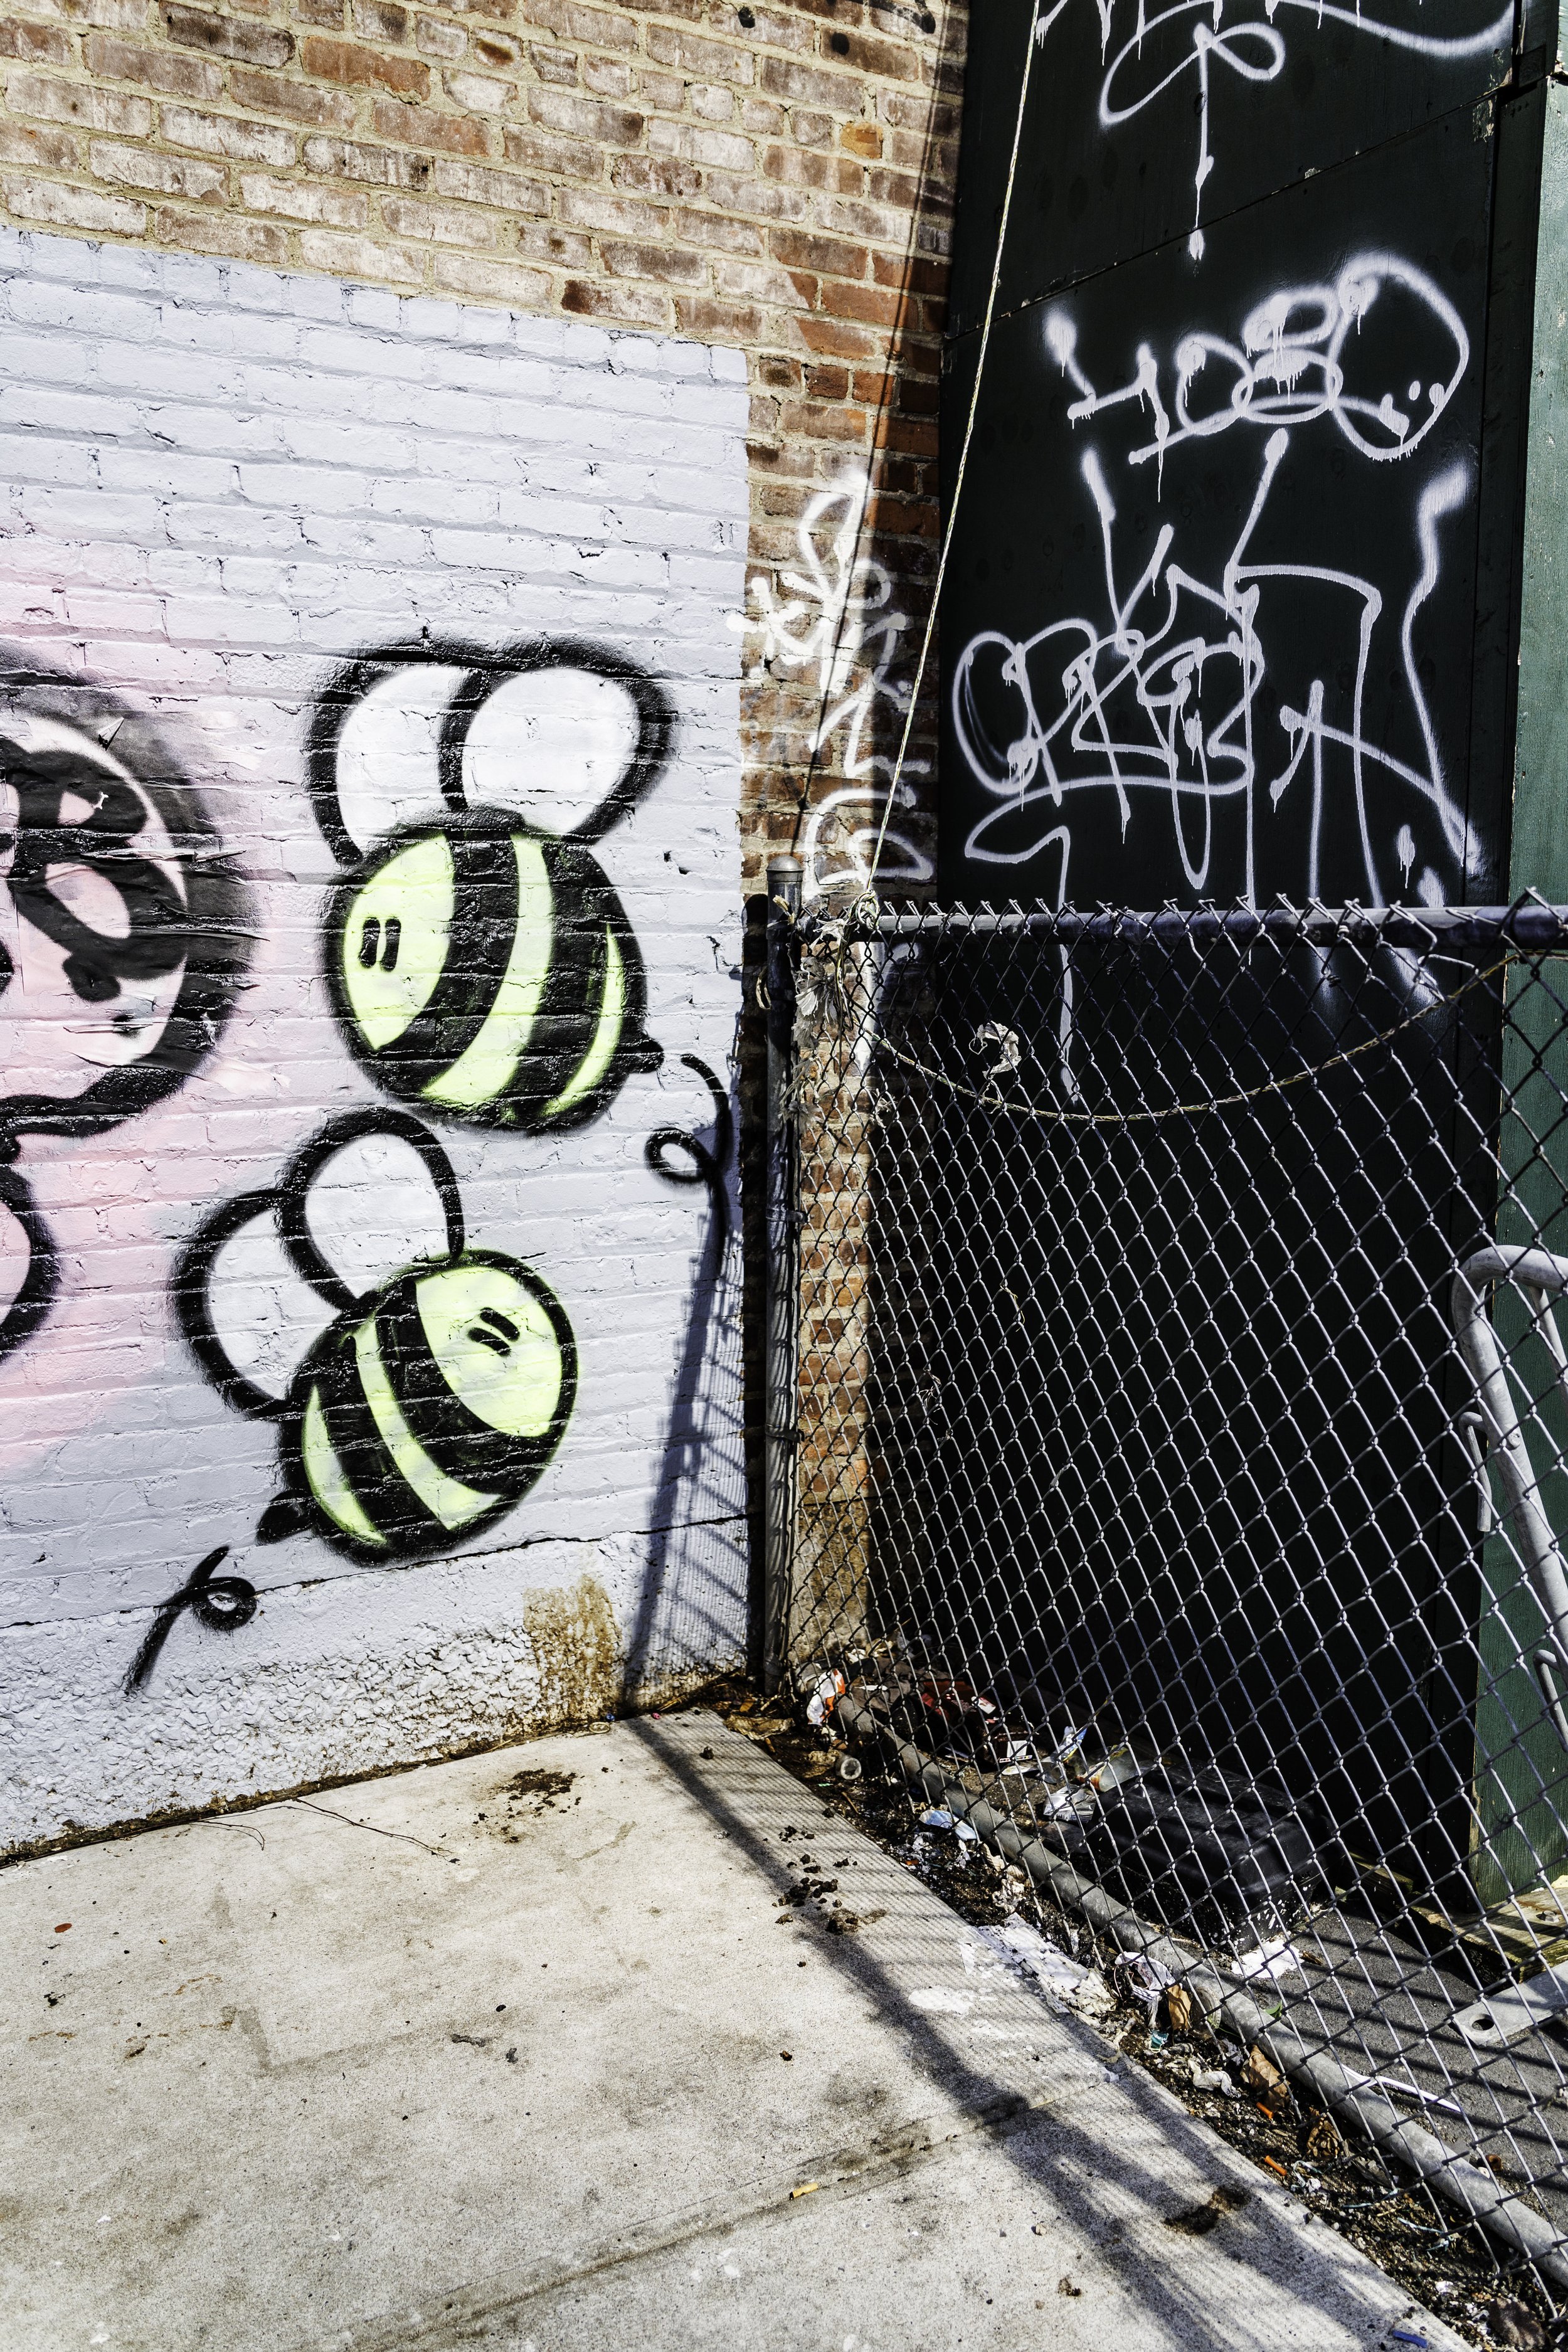
Lines: Straight, curved, vertical, intersectional

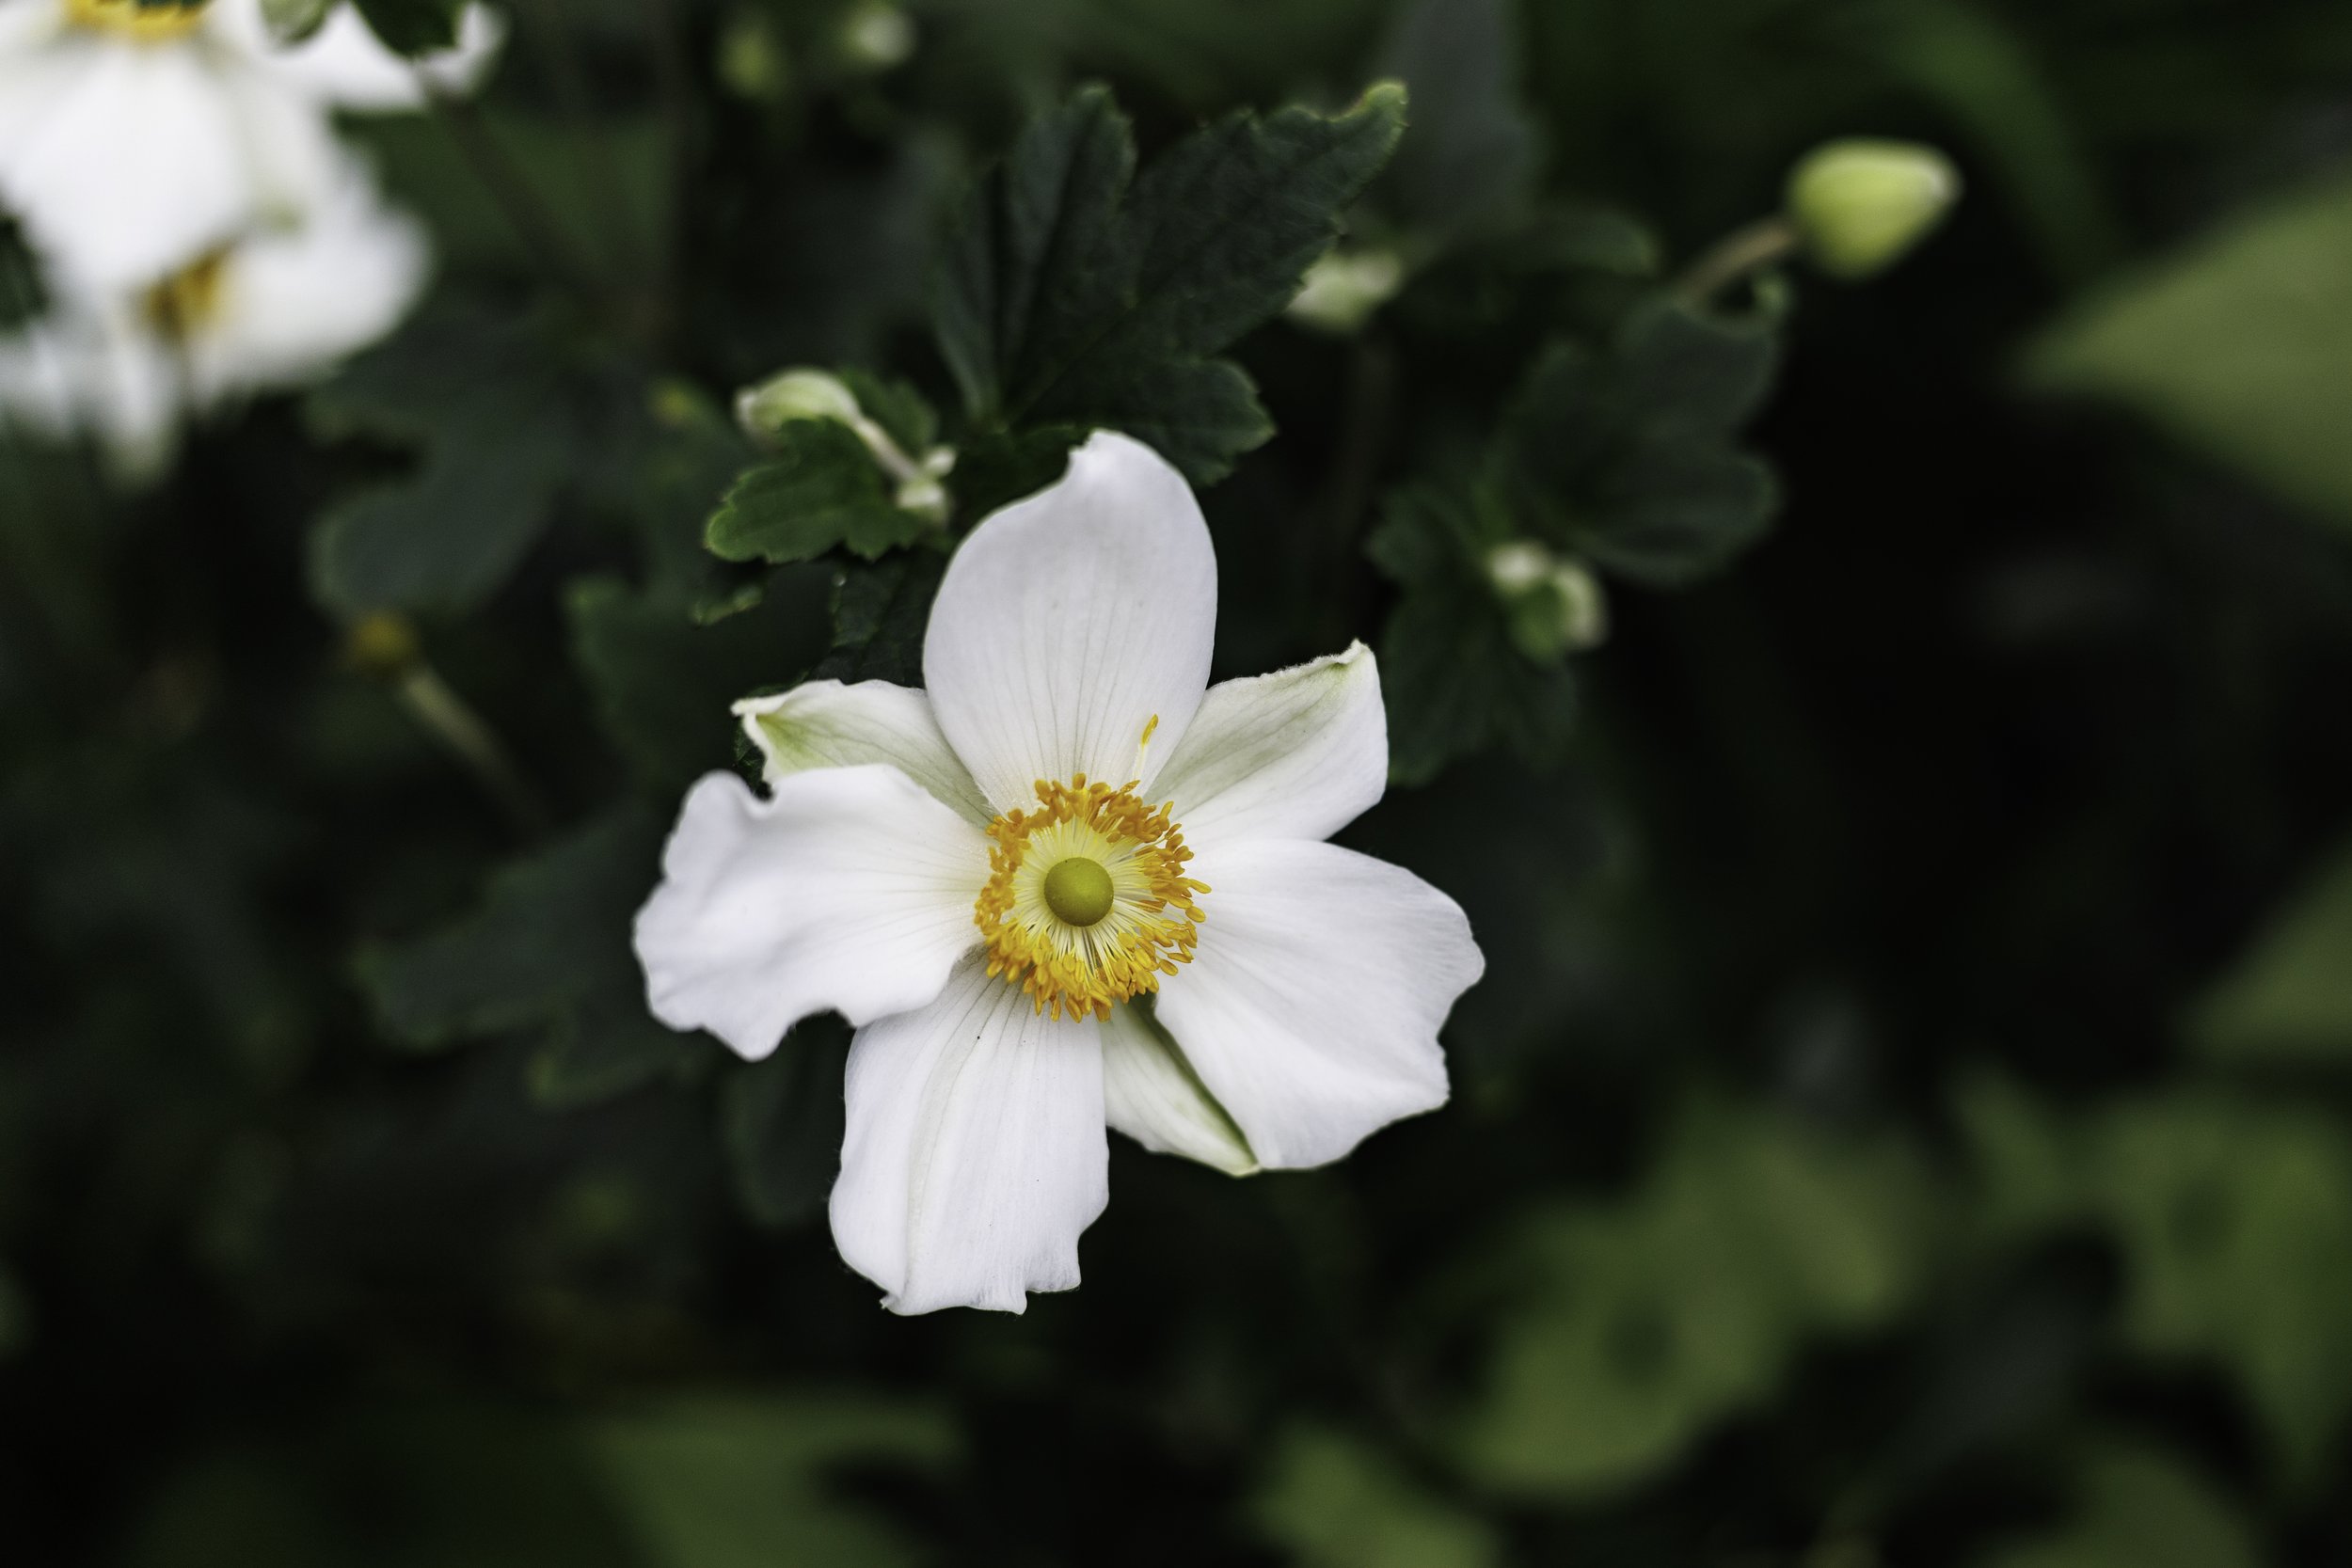
Shapes: Circle, Square, Triangle, Rectangle Try it with a mutliple exposure, or as a framing tool

Colors: Your favorite, a complimentary color, contrasting colors

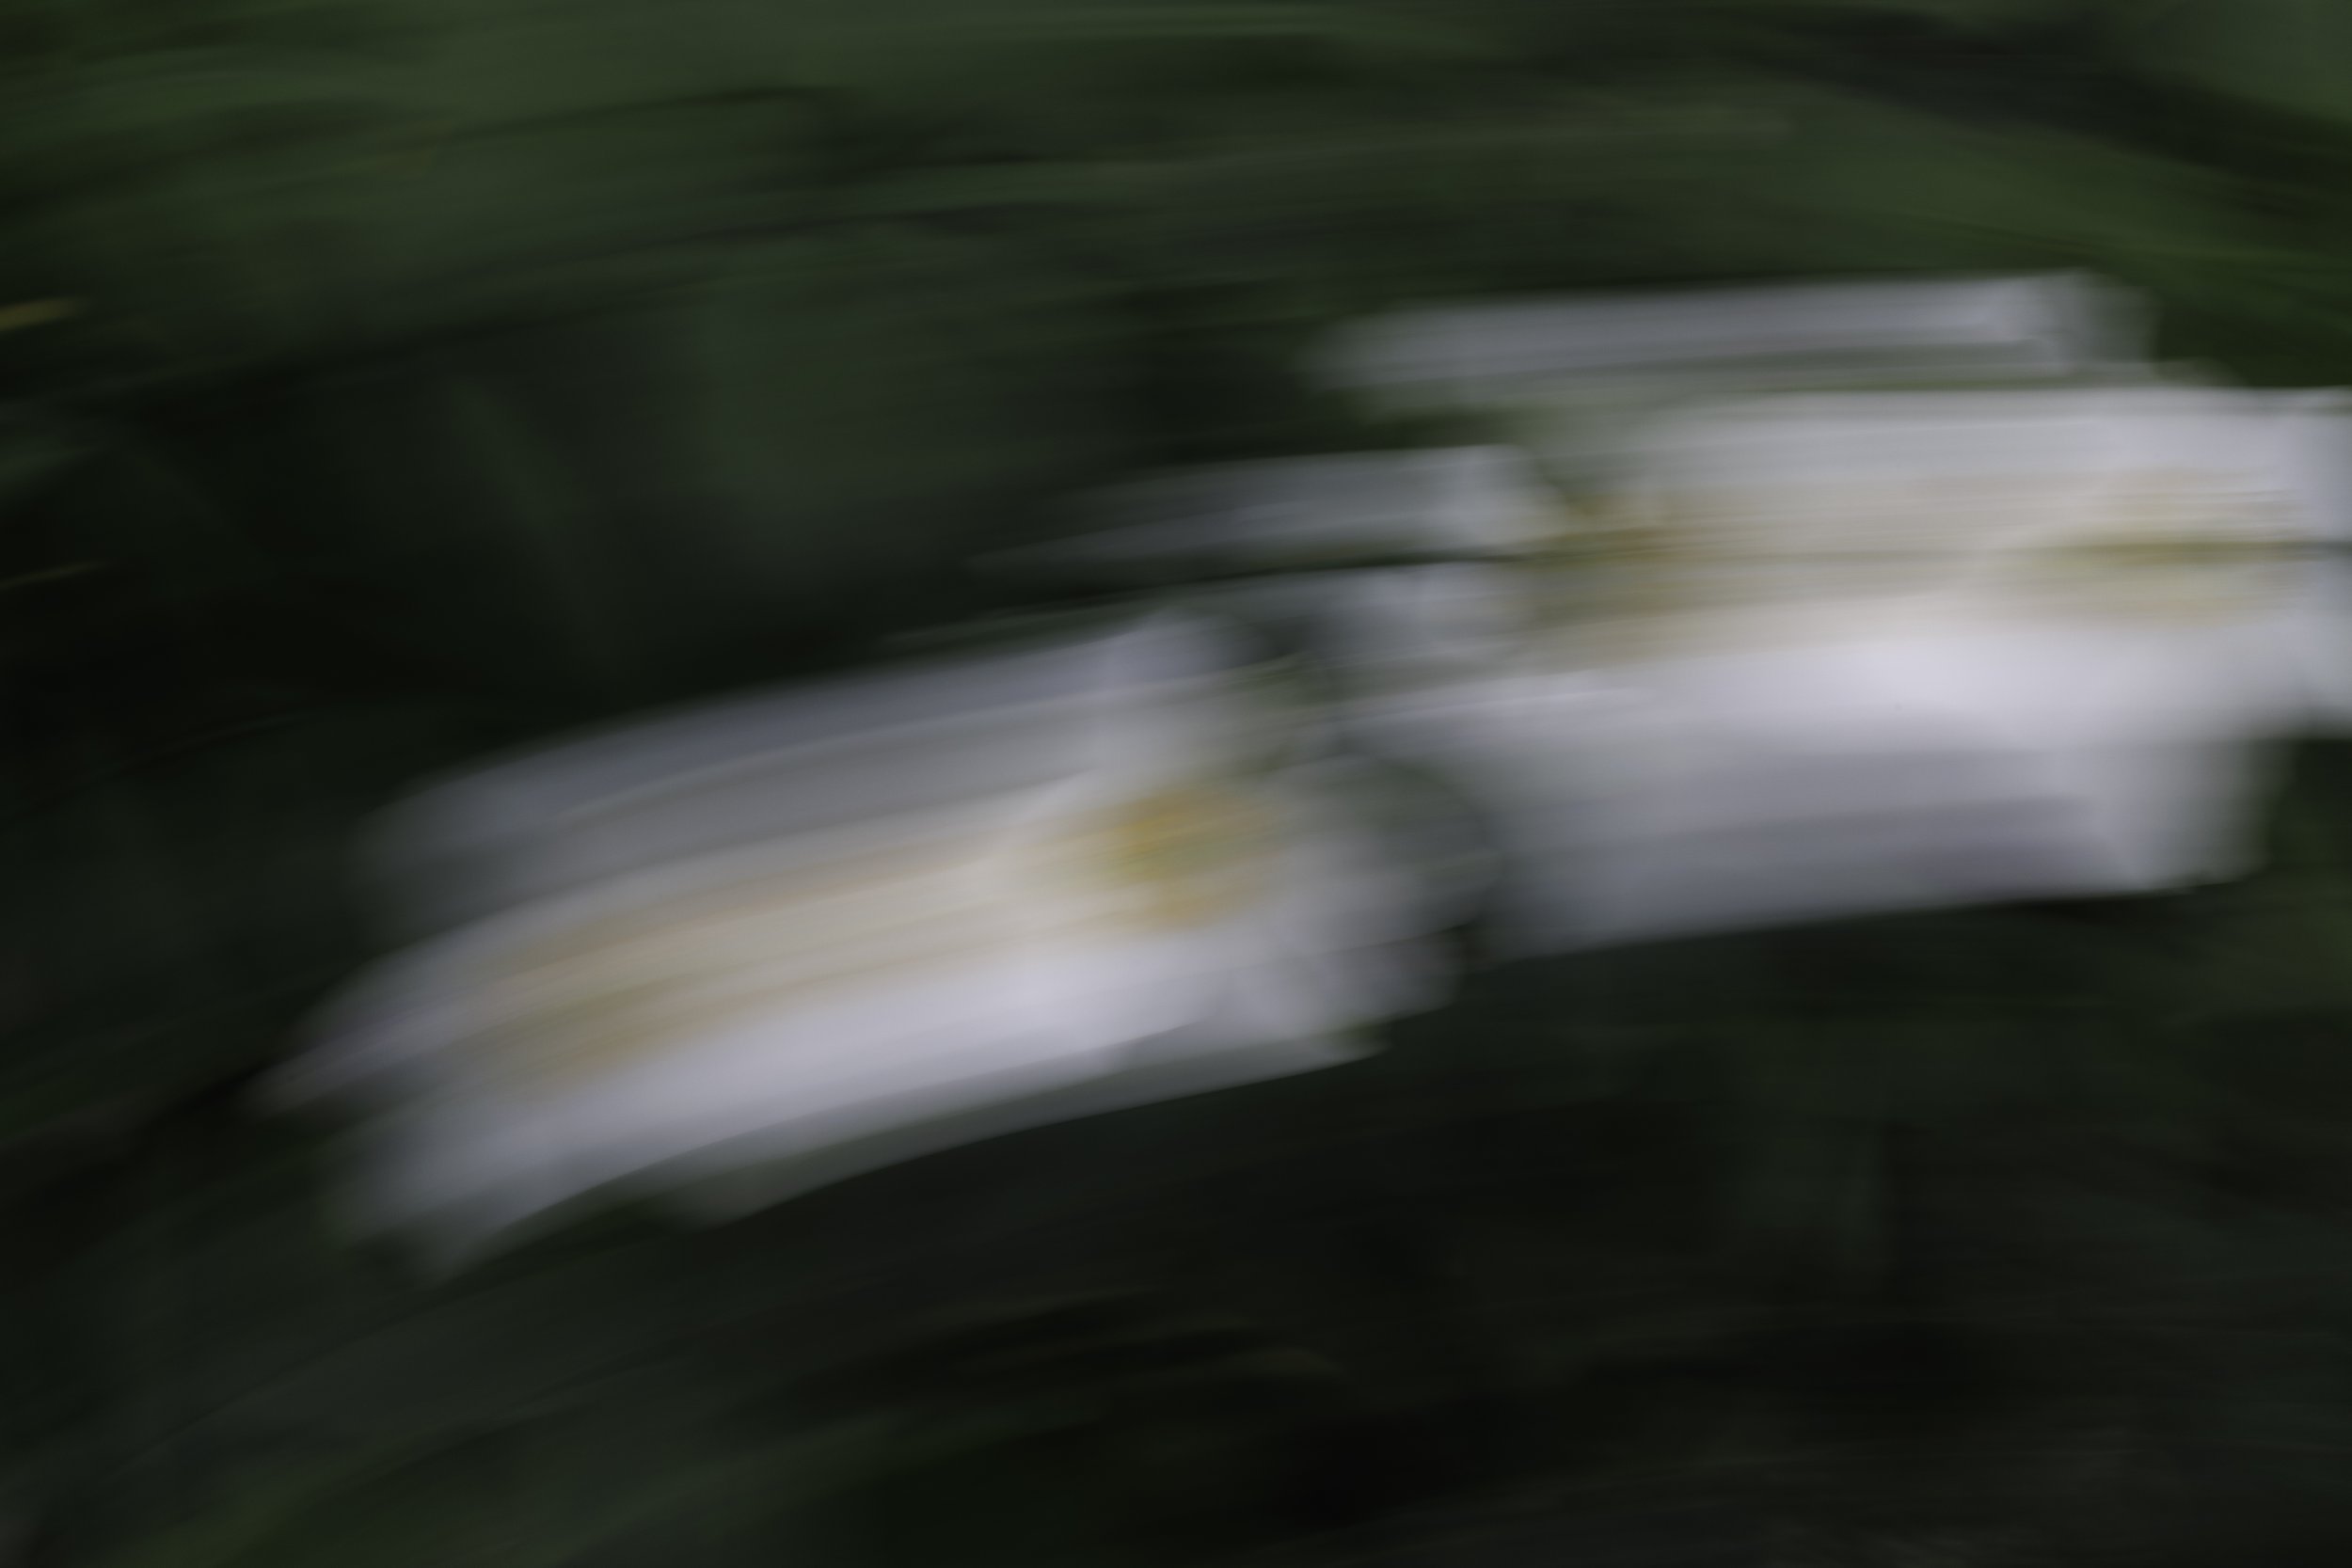
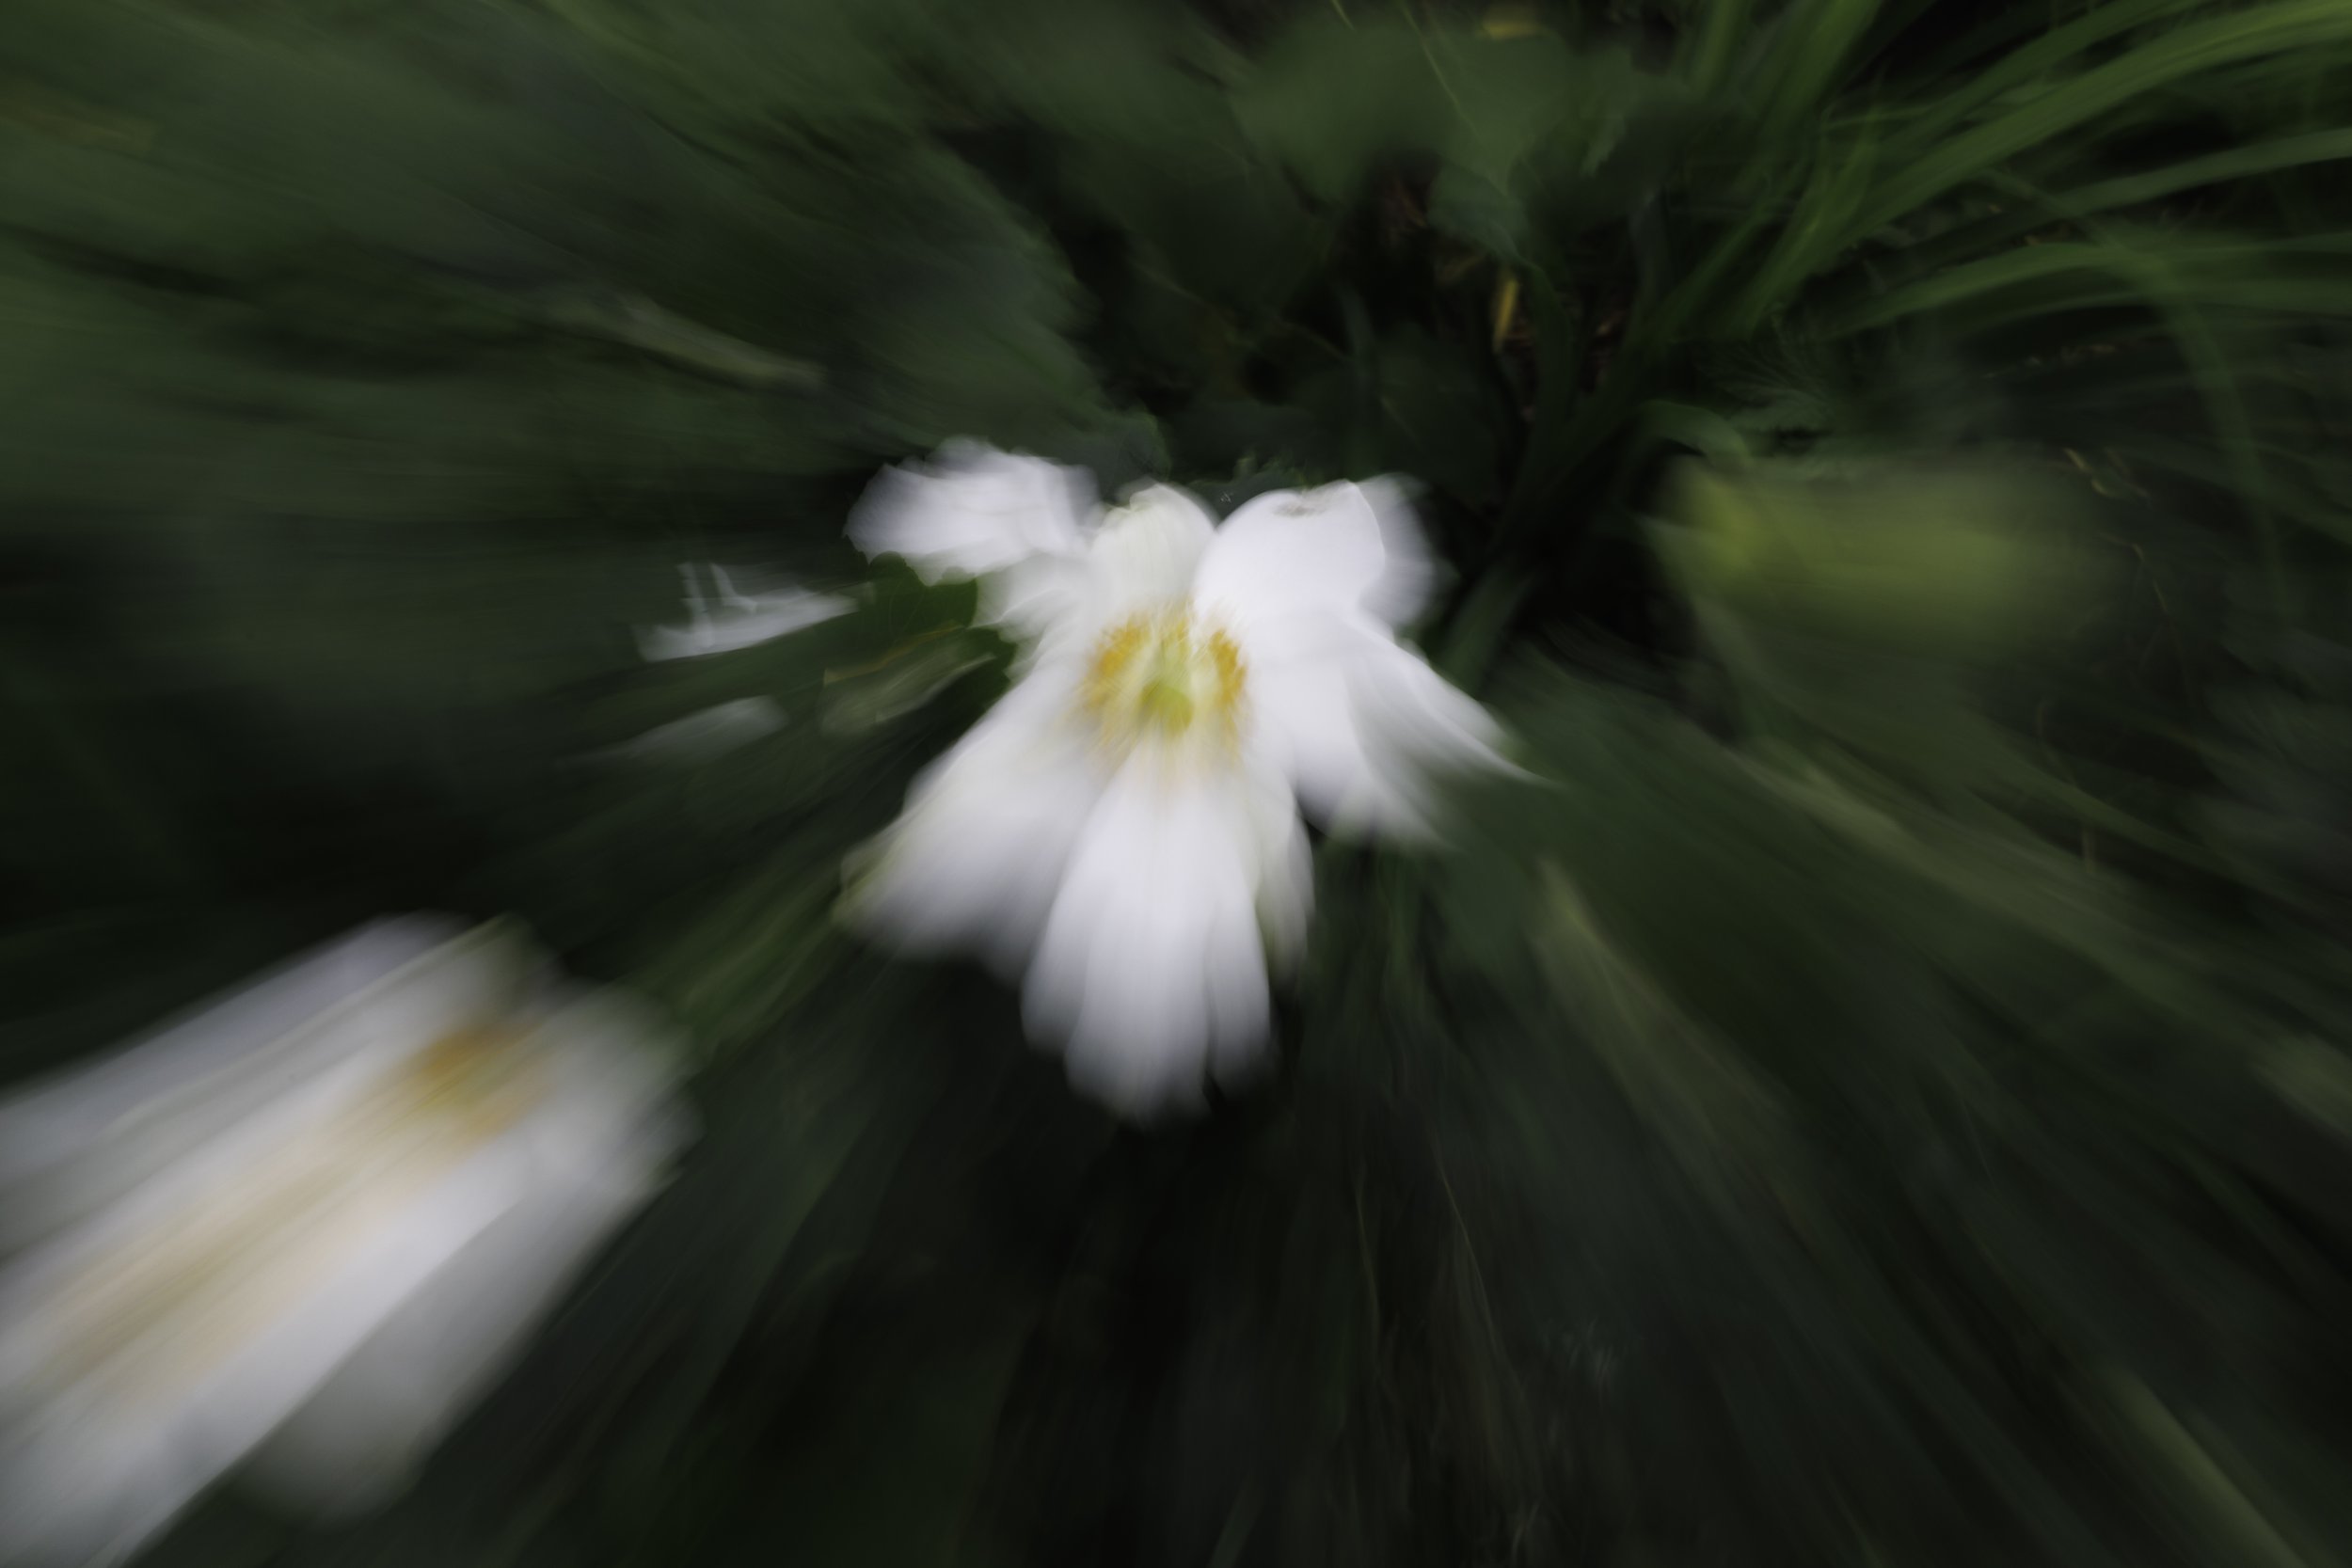
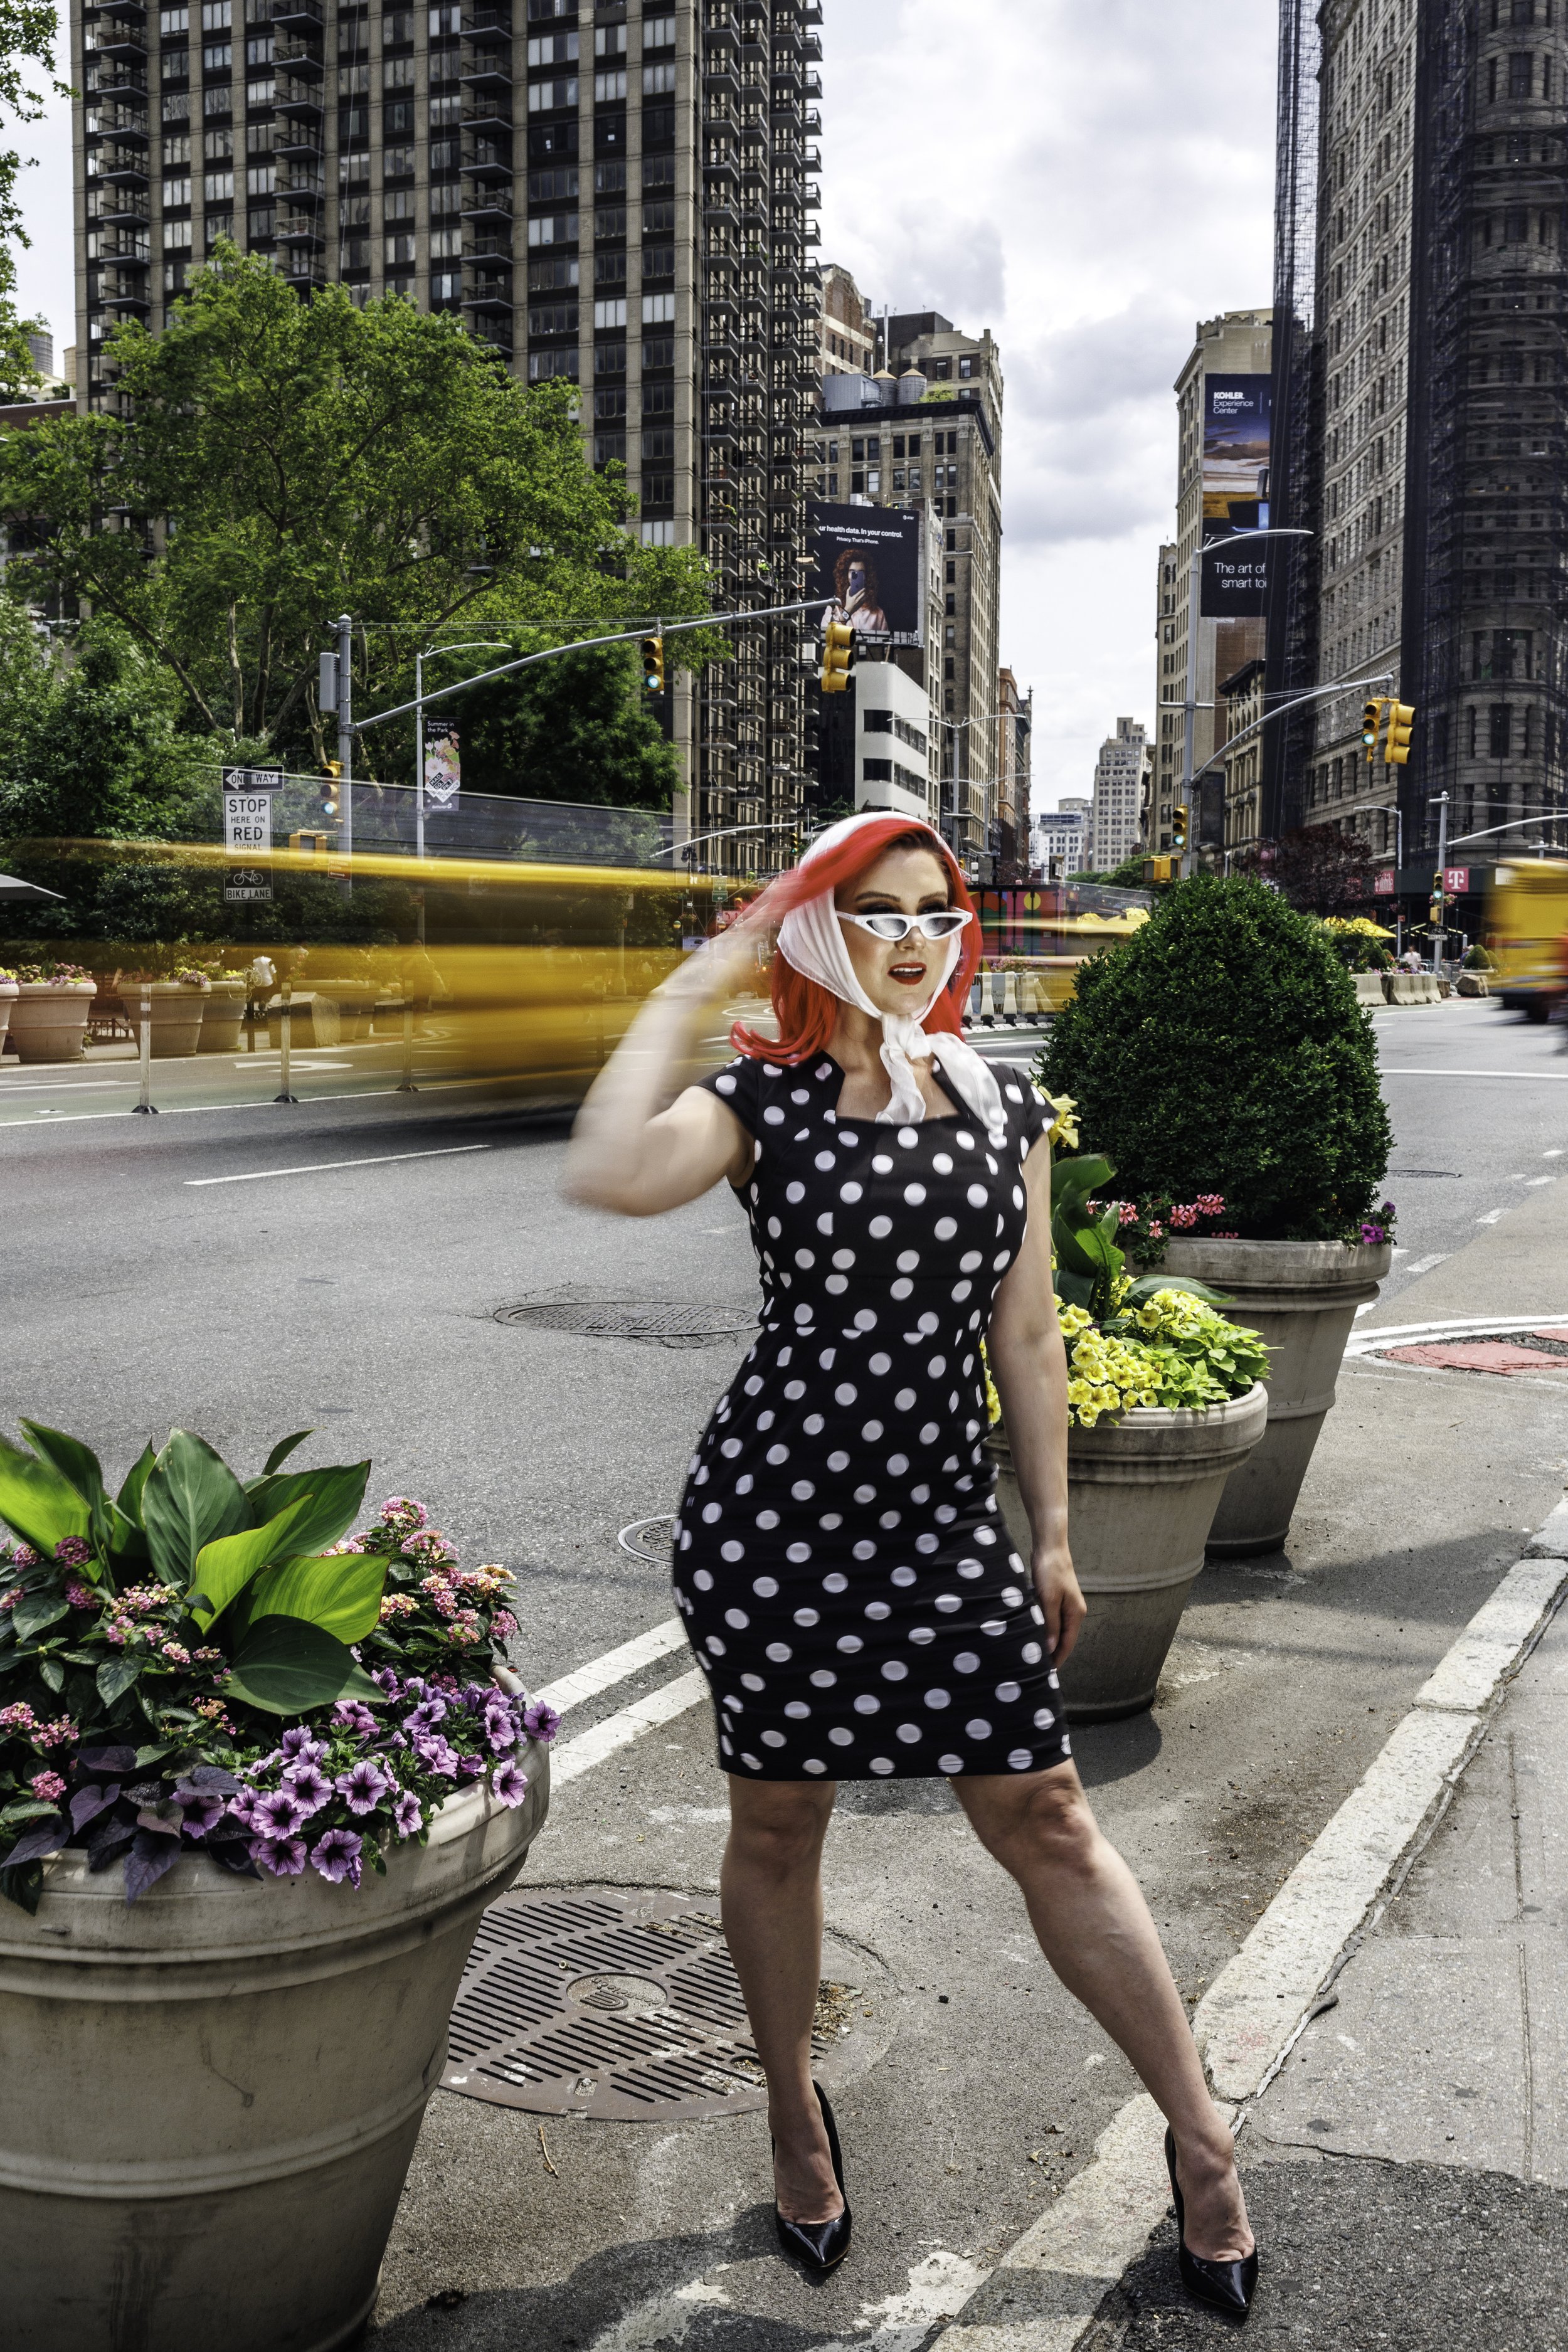
Blur/Panning: This is trial and error. Try different shutters/apertures until you can maintain sharpness through out the exposure or purposely blur.

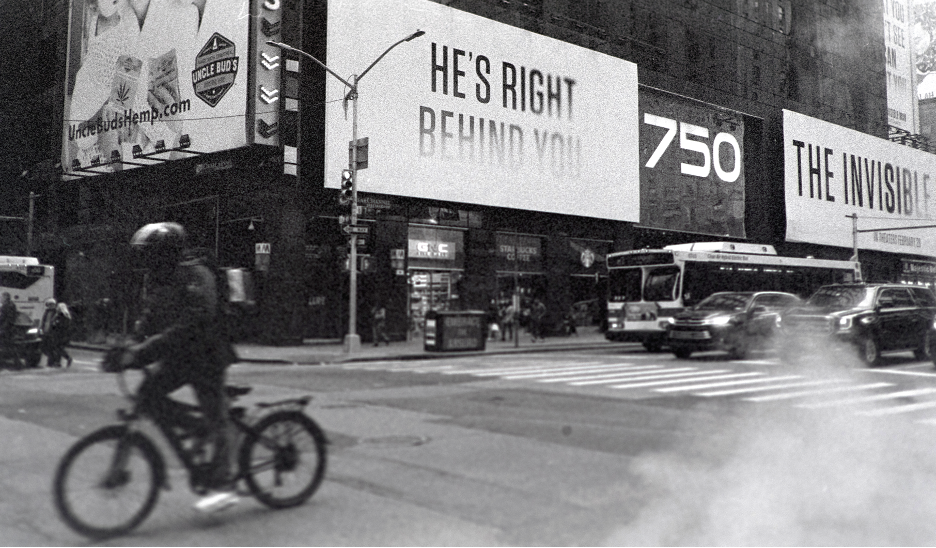
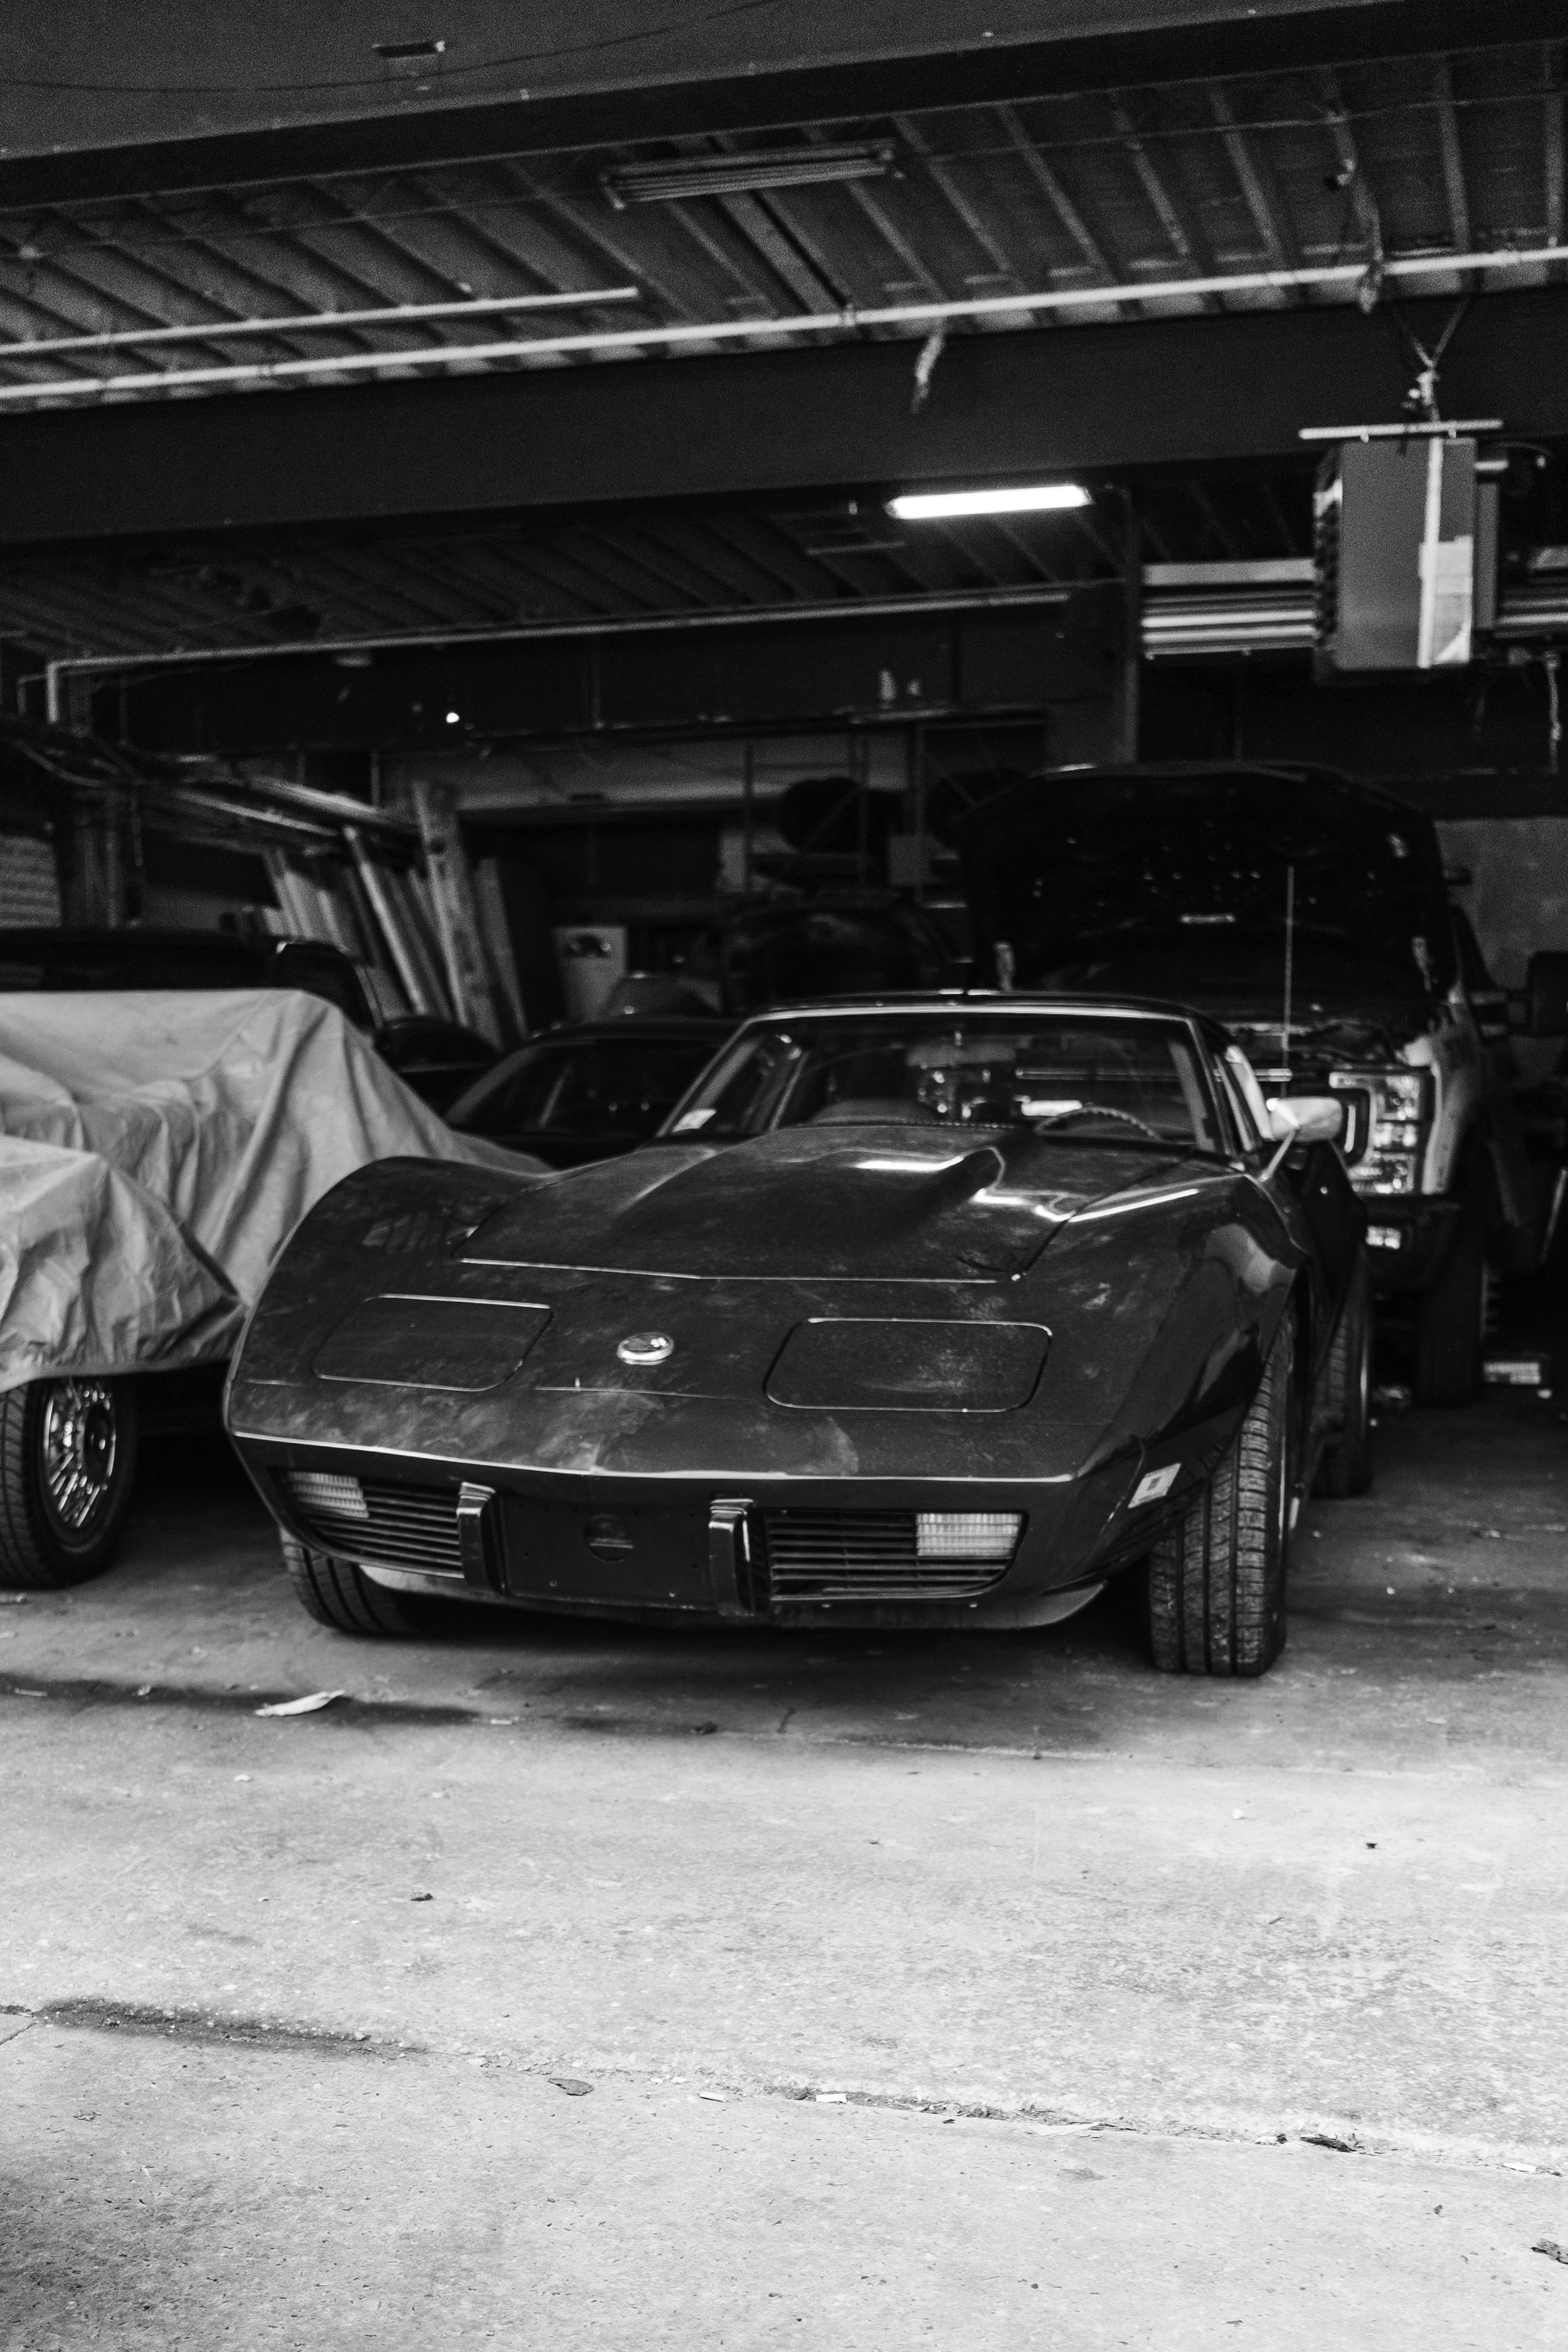
Shooting in B&W: Change your picture style to Monochrome - *** Remember - if you shoot

JPEG - it cannot be changed.

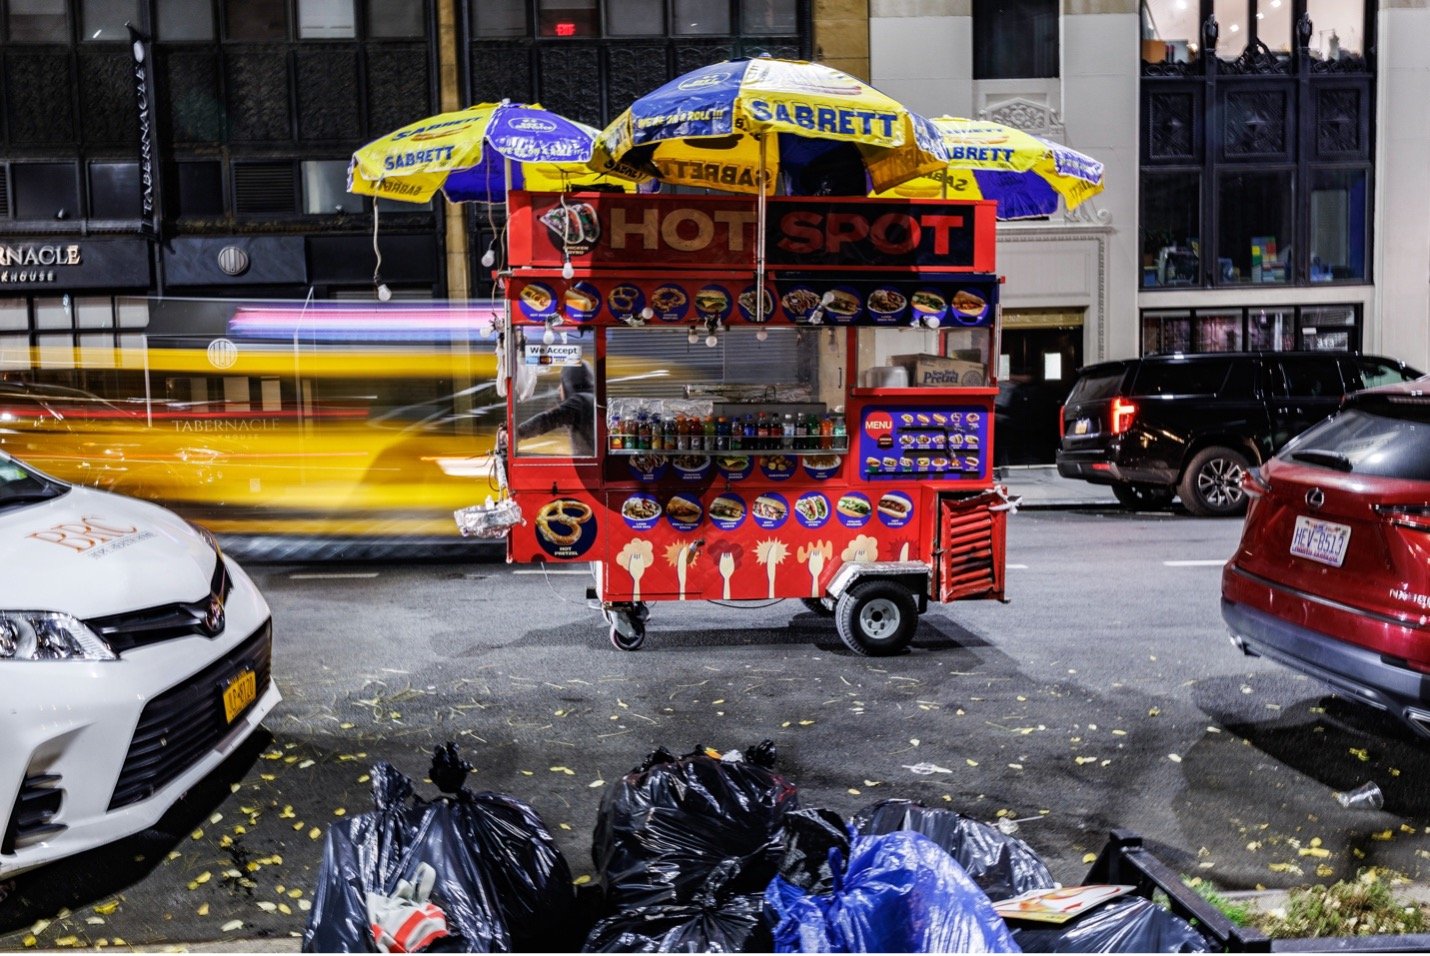
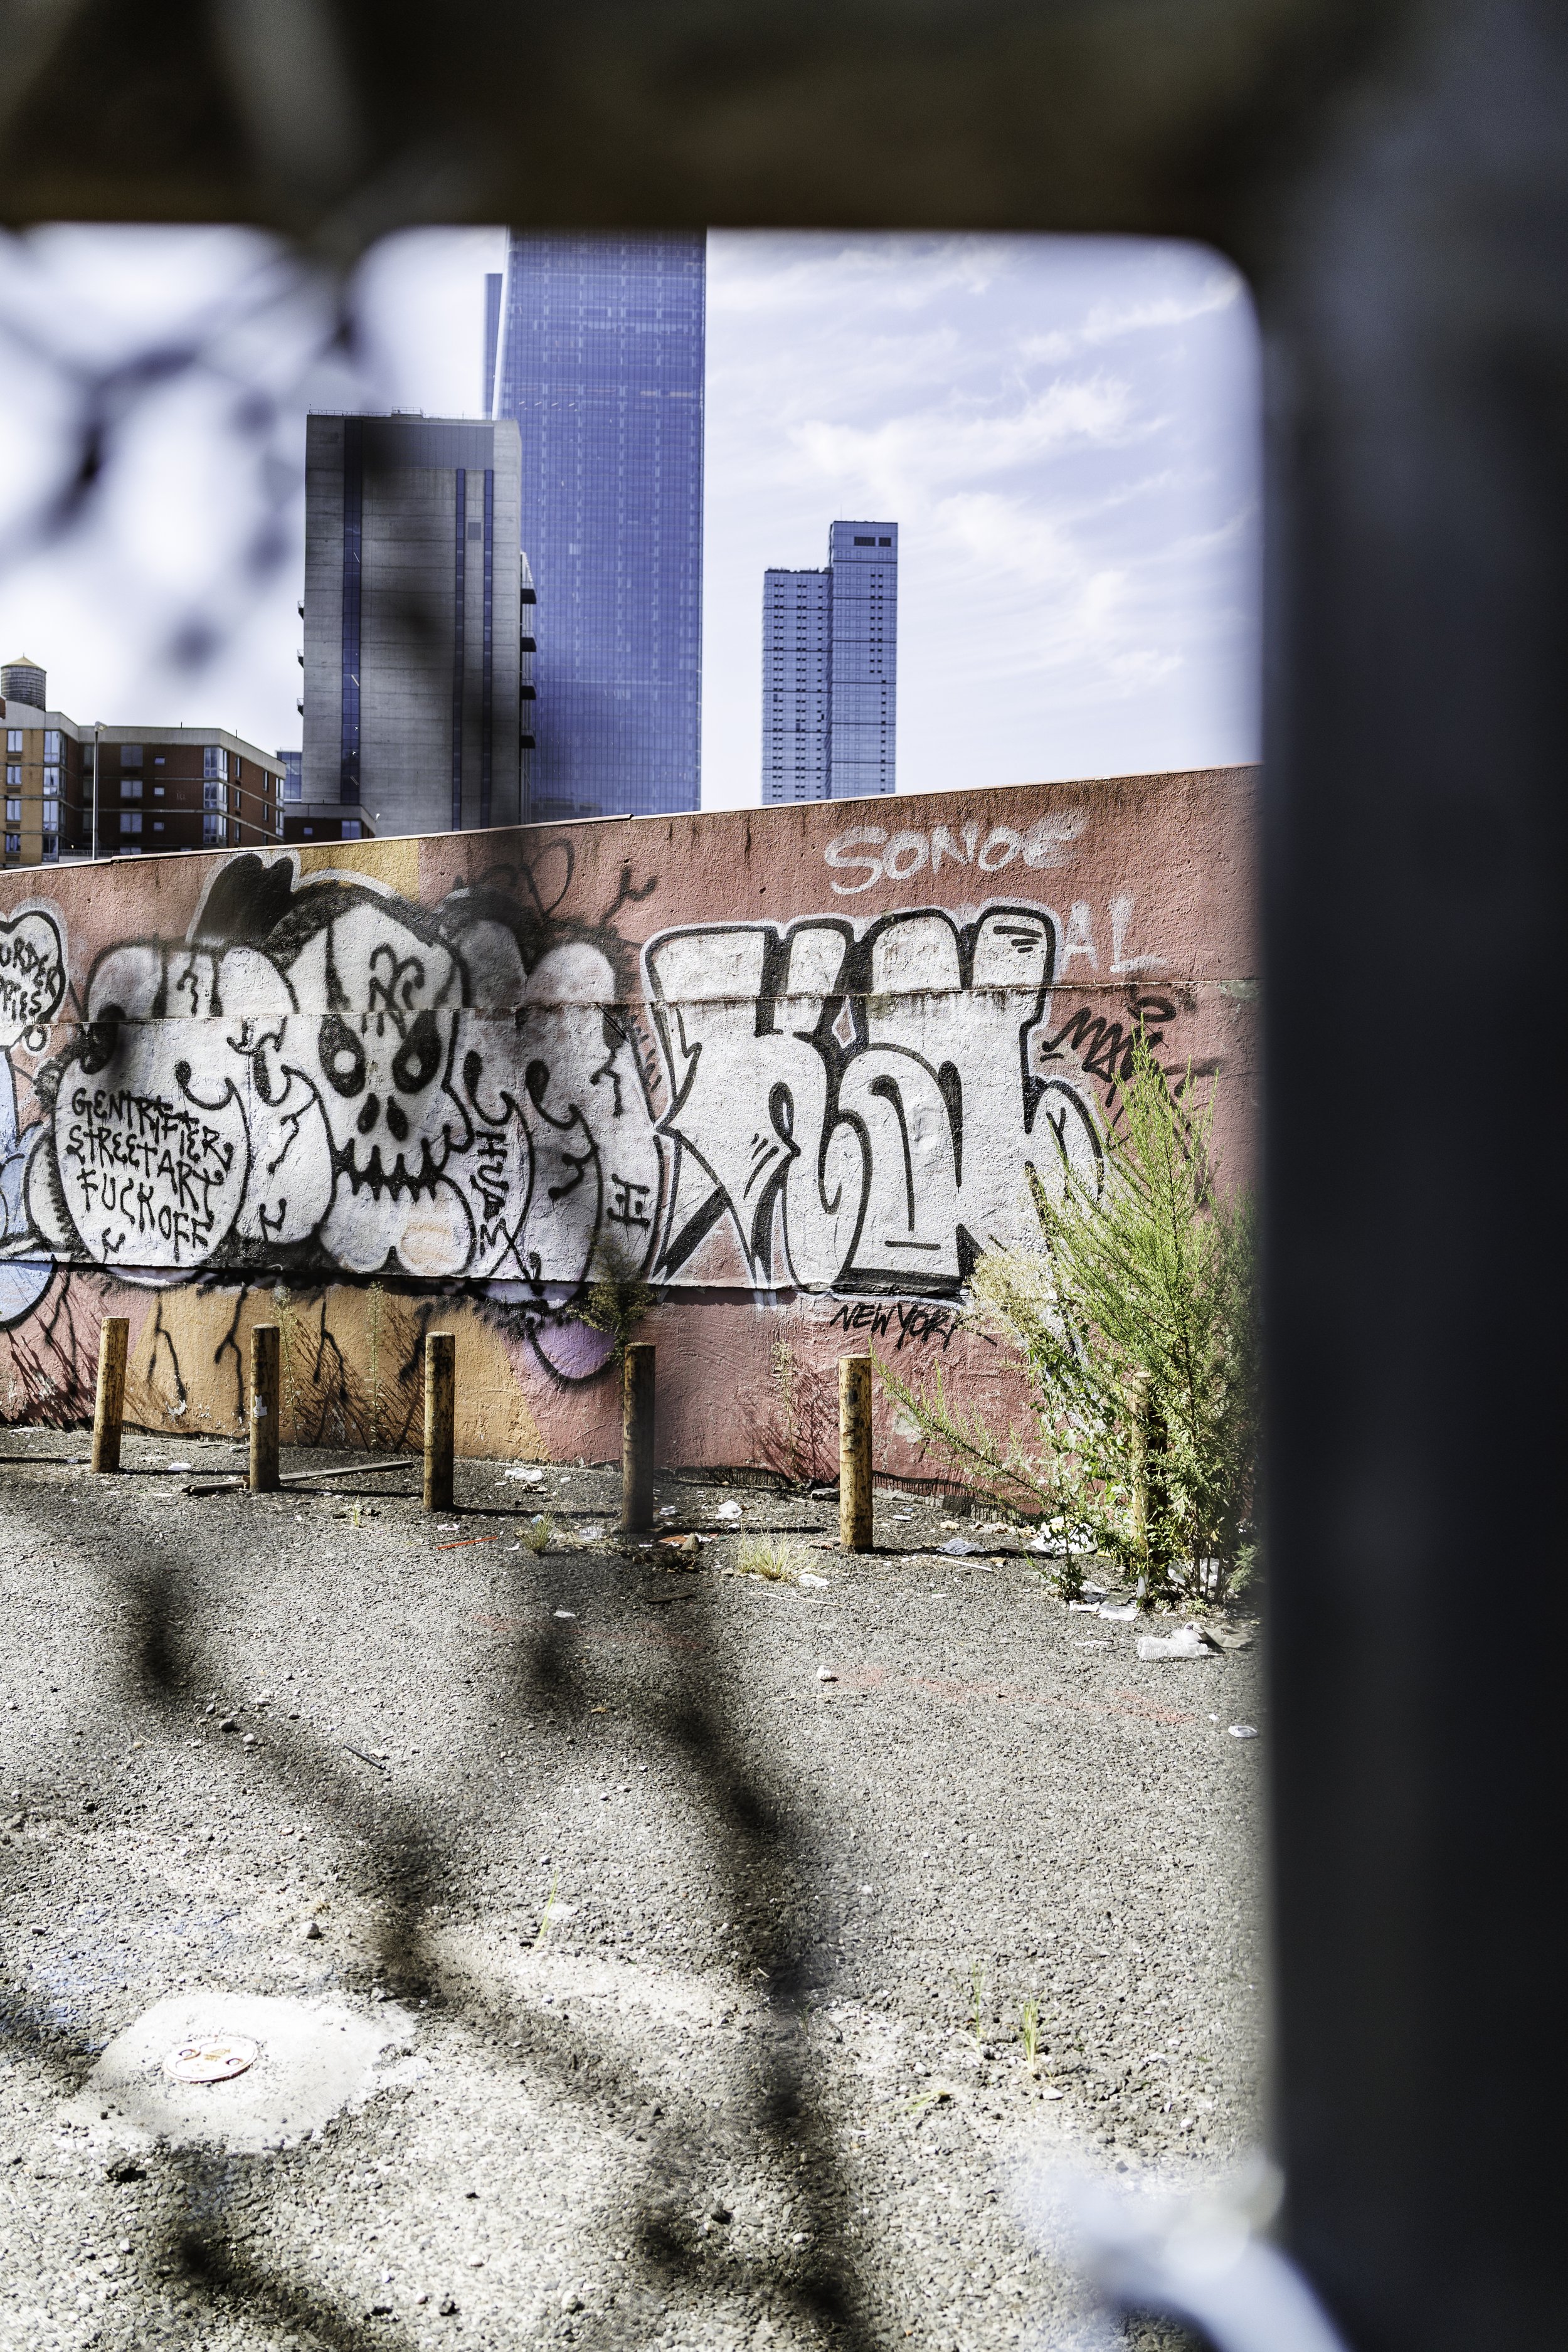
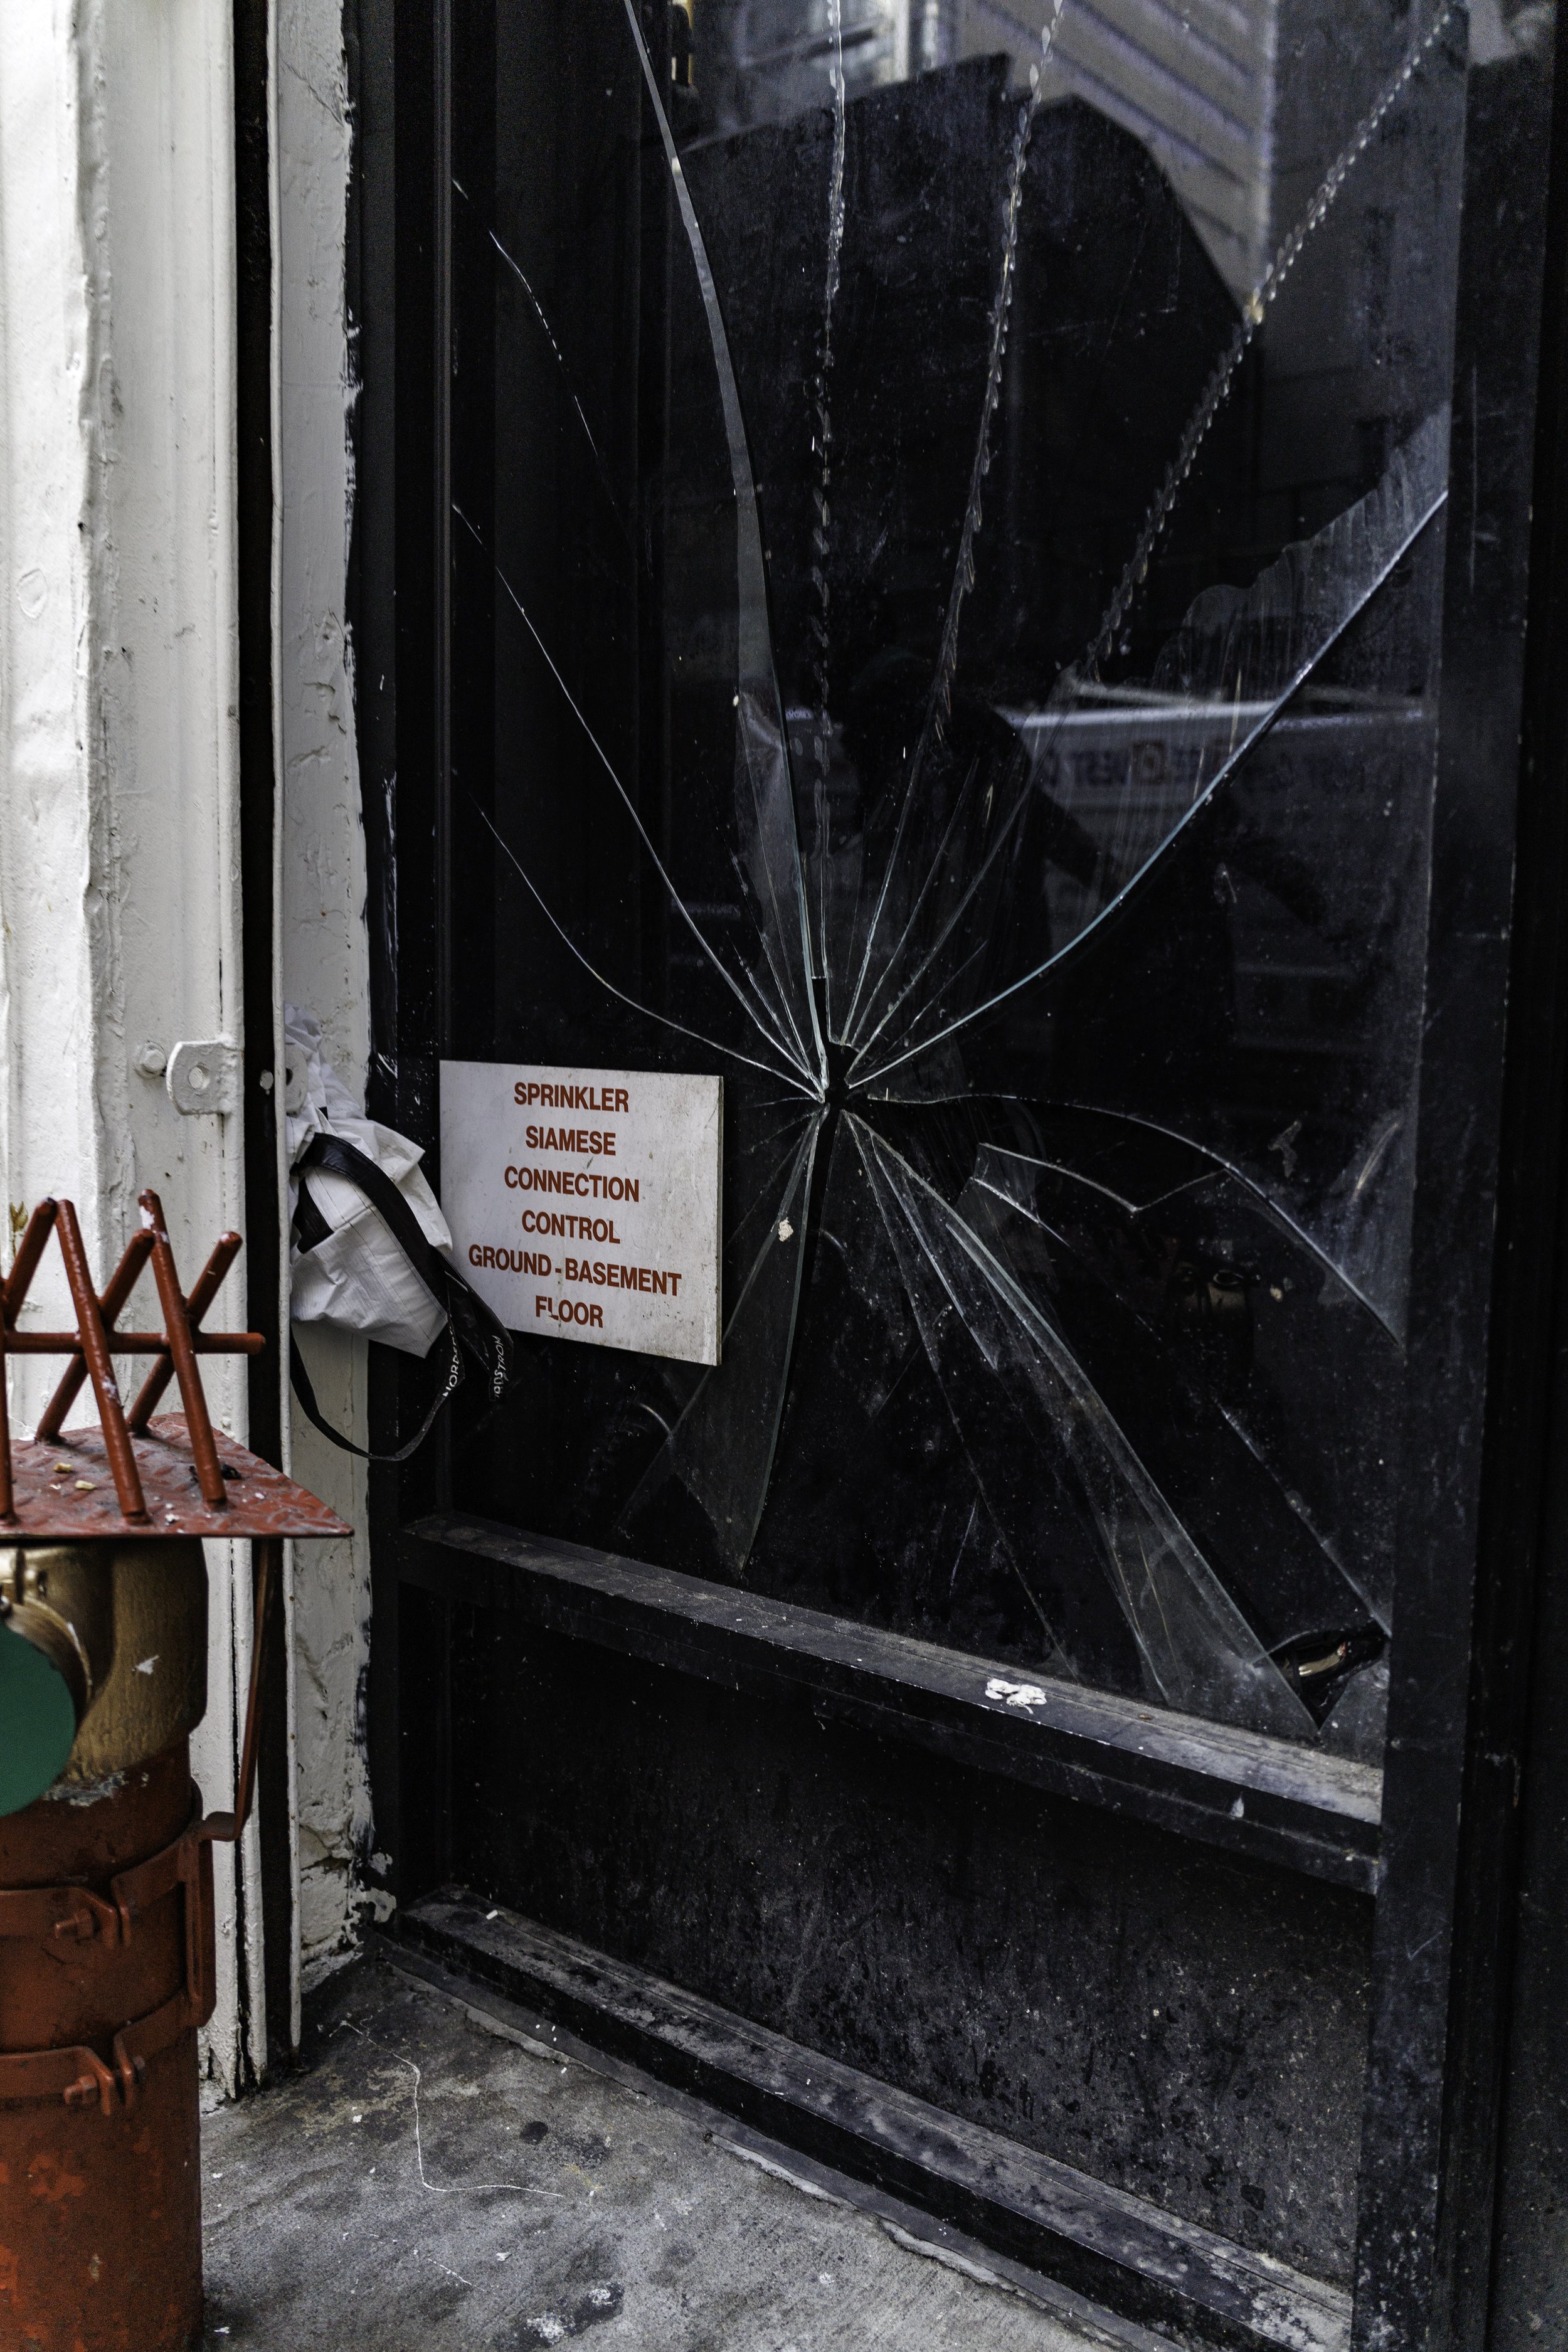
Framing: use lines, trees, doors, walls, etc -

Turn the grid on - frame subjects on one of the lines or at the intersection of the boxes.

For settings - Try Tv (shutter priority), Av (aperture priority), or Manual mode. SERVO with continuous shooting & IS on - are all very handy tools to utilize!

 
Picture1.jpg
ca.jpg
Picture3.jpg
Picture2.jpg
Picture12.jpg
Picture1.png
_68A7179-2.jpg
_68A7236-2.jpg
_68A7190-2.jpg
_68A7233.jpg
_68A7316.jpg
_68A7252.jpg
_68A7231-2.jpg
_68A7184-2.jpg
_68A7195-2.jpg
_68A7208-2.jpg
_68A7265-2.jpg
_68A7268.jpg
_68A7269.jpg
_68A7272-2.jpg
_68A7274-2.jpg
_68A7299-2.jpg
_68A7304-2.jpg
_68A7311-2.jpg
_68A7319-2.jpg
_68A7247.jpg
_68A7260.jpg
_68A7246.jpg
_68A7210.jpg
_68A7221.jpg
068A9312.jpg
IMG_3754.JPG
068A9157.jpg

Looking for additional ideas?

  • Take a burst of images and make them into a .gif

  • Create a self project - EX: I like to shoot abandoned shopping carts (it doesn’t have to make sense - you can just enjoy doing it)

  • Shoot only verticals

  • Shoot with only one lens

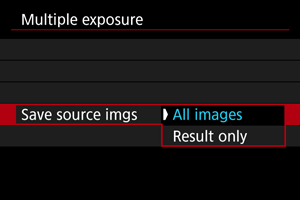
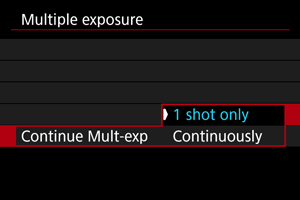
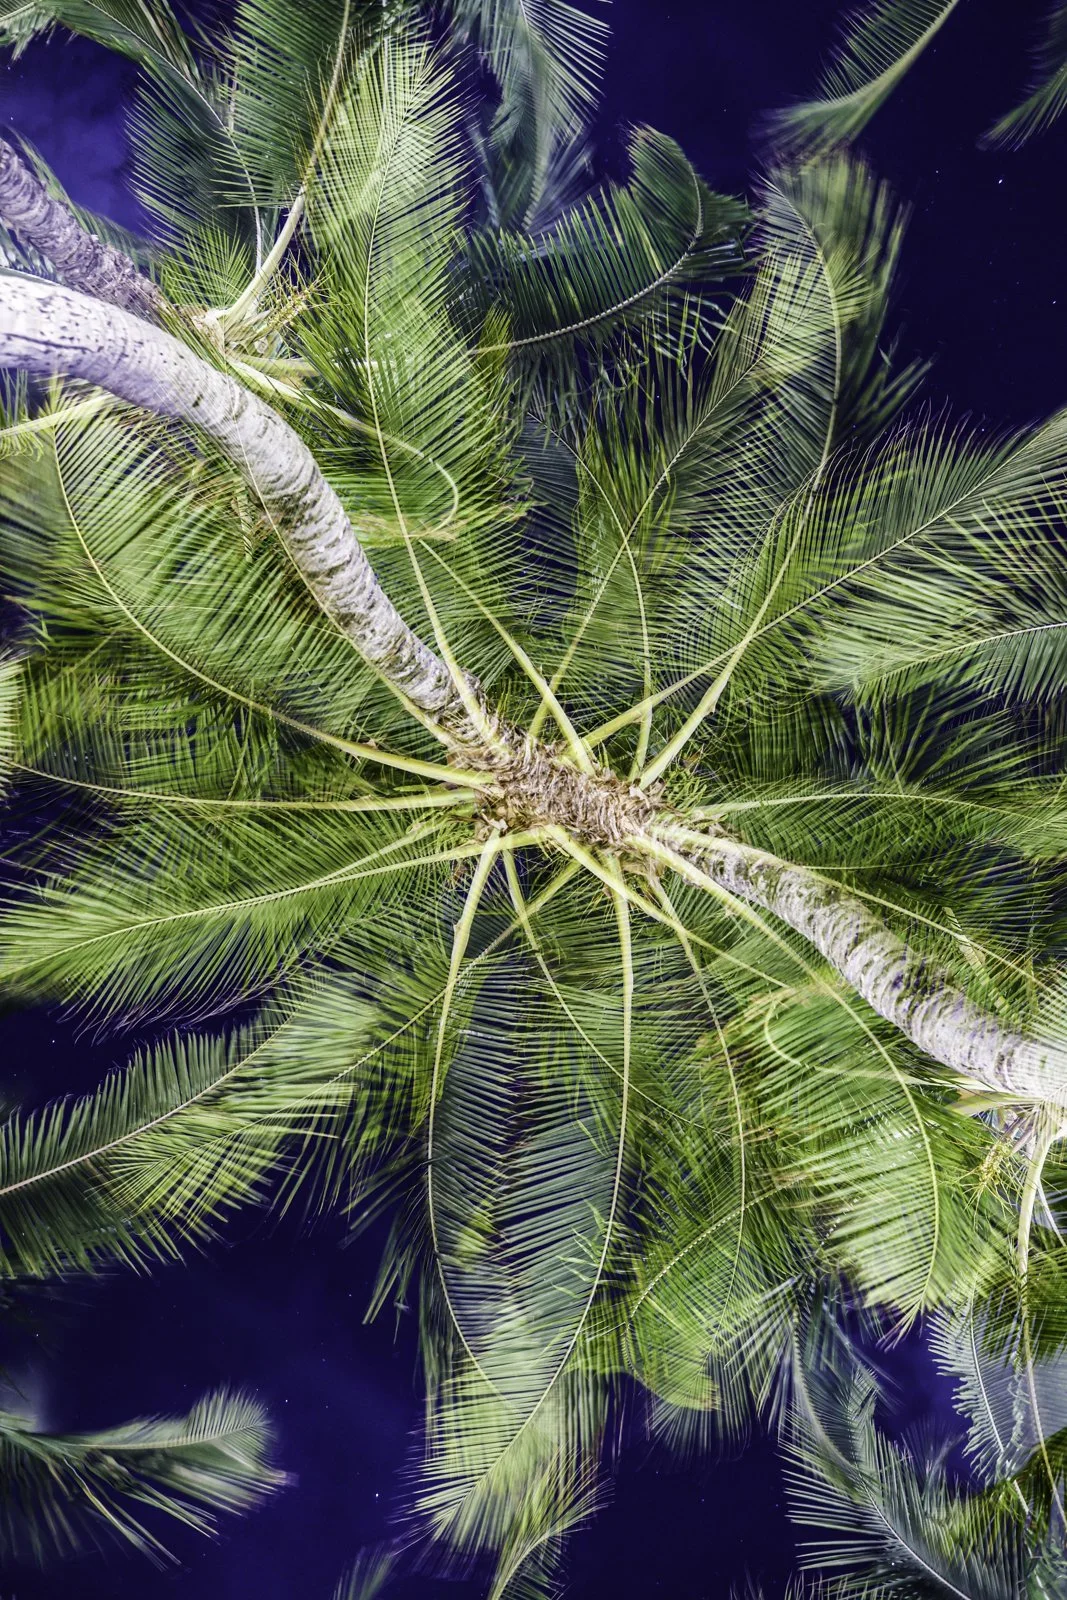
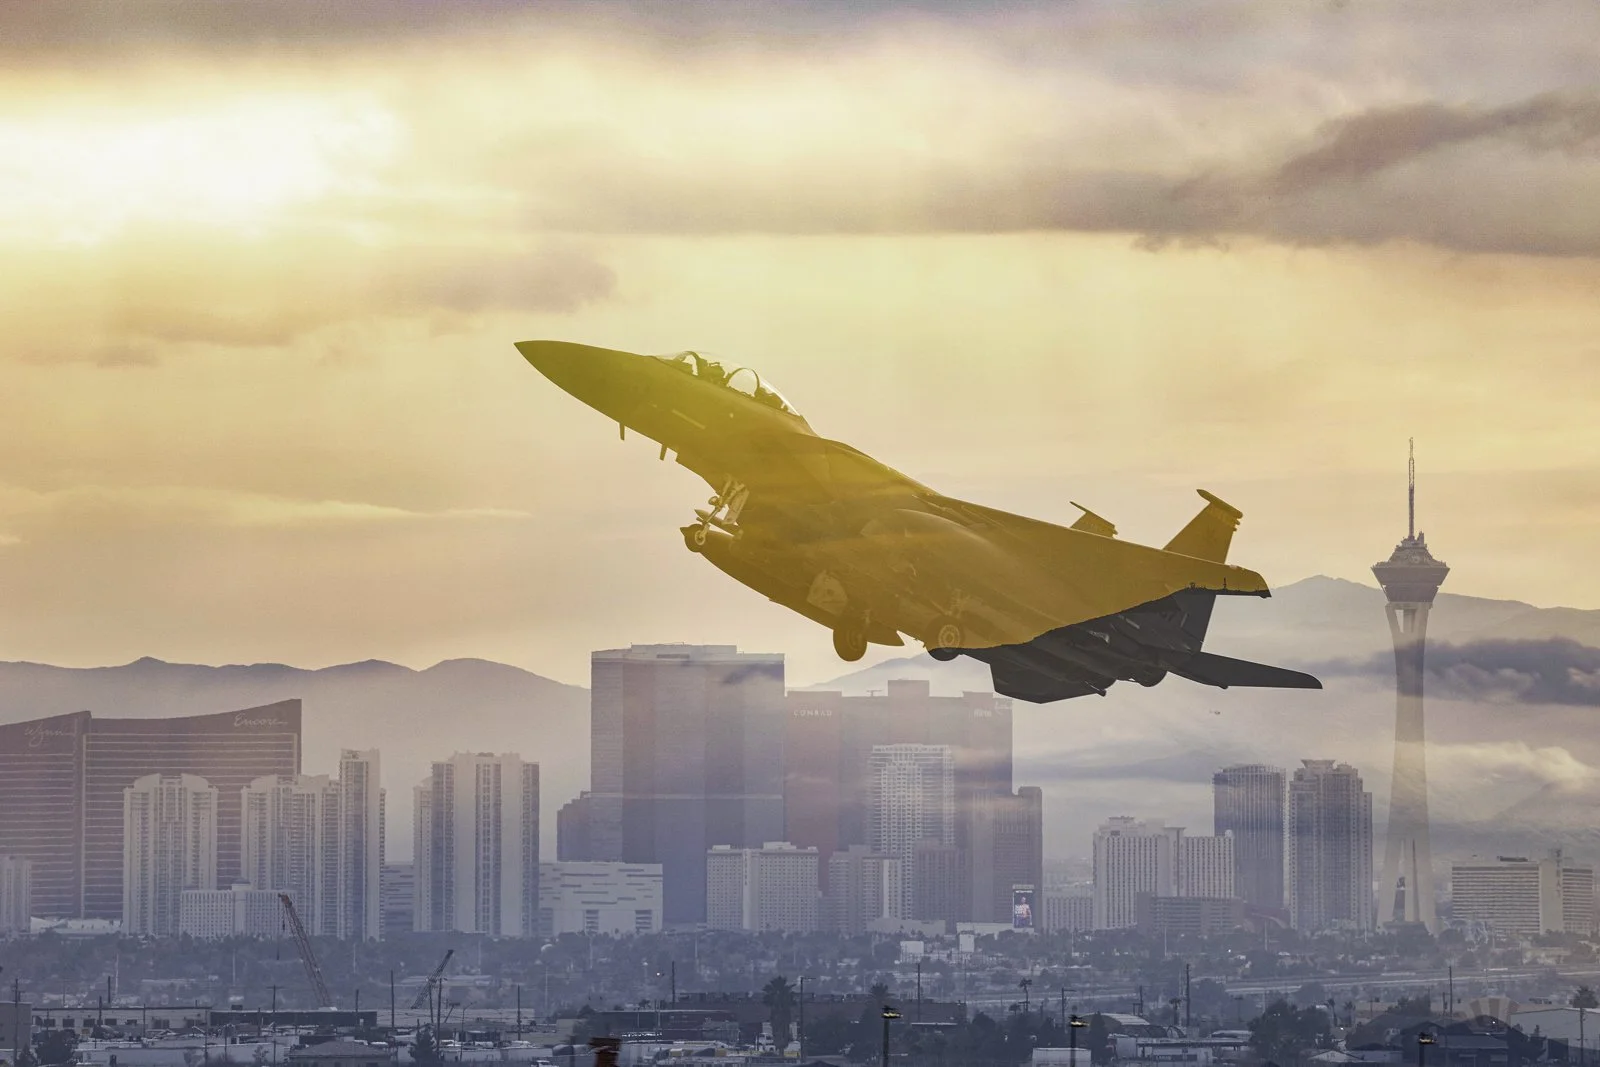
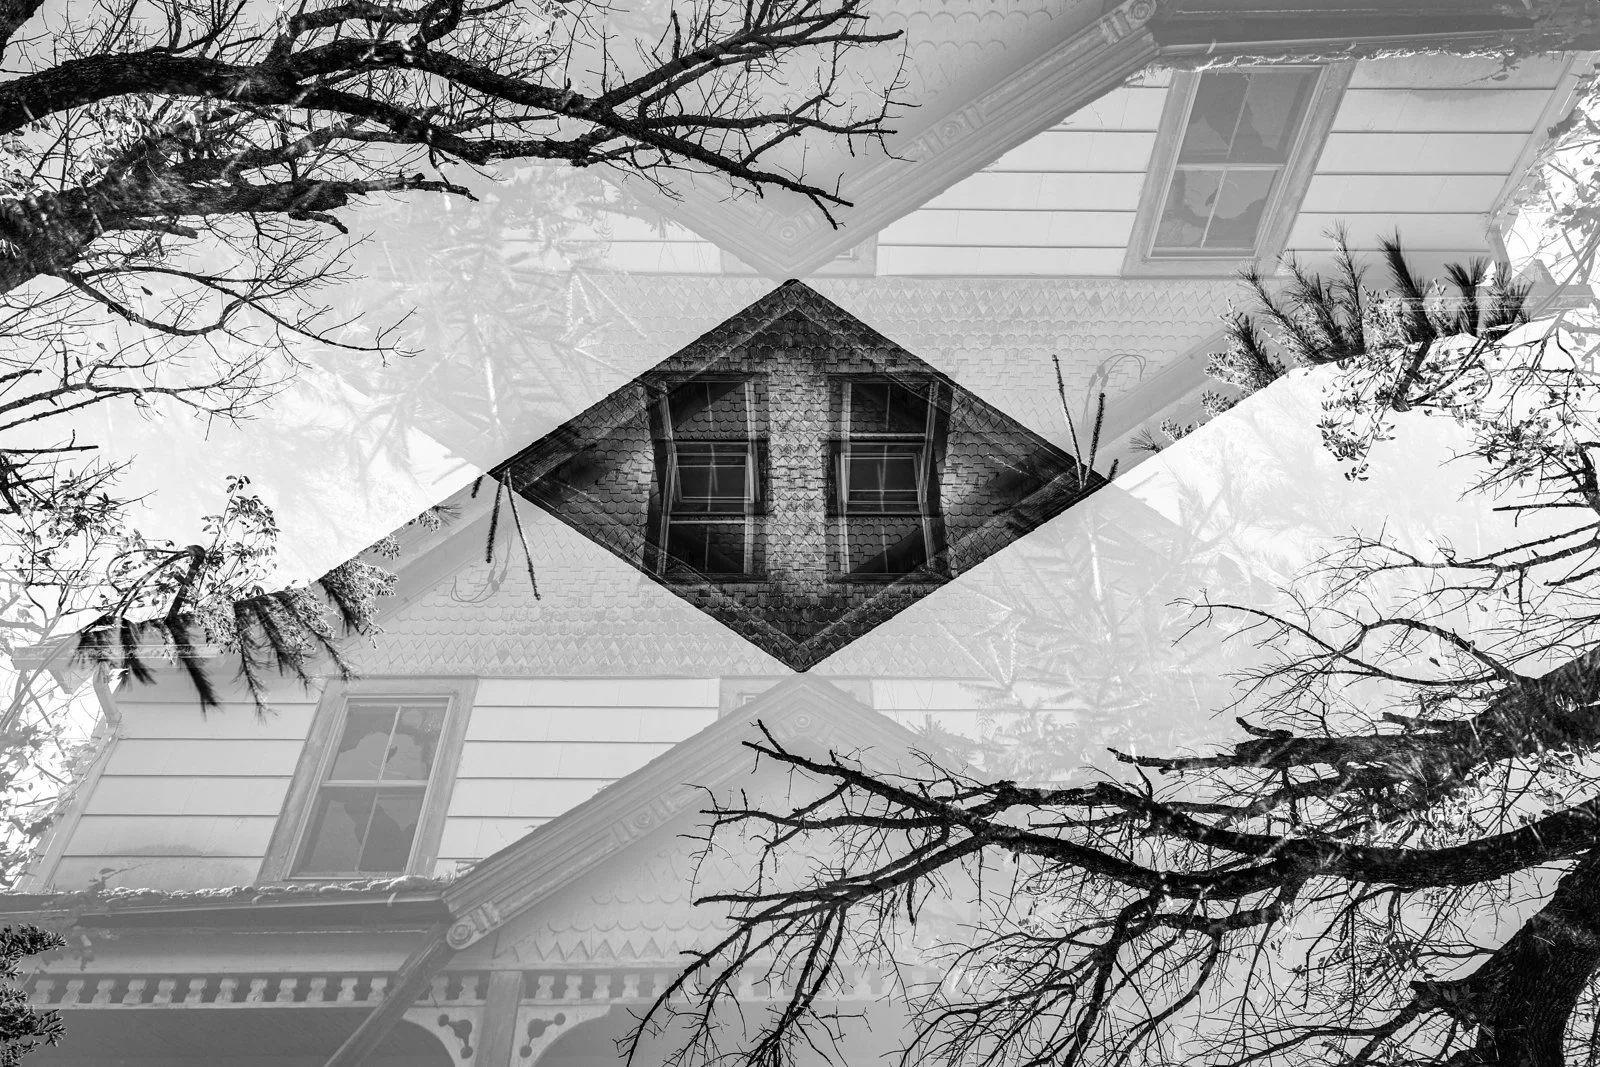
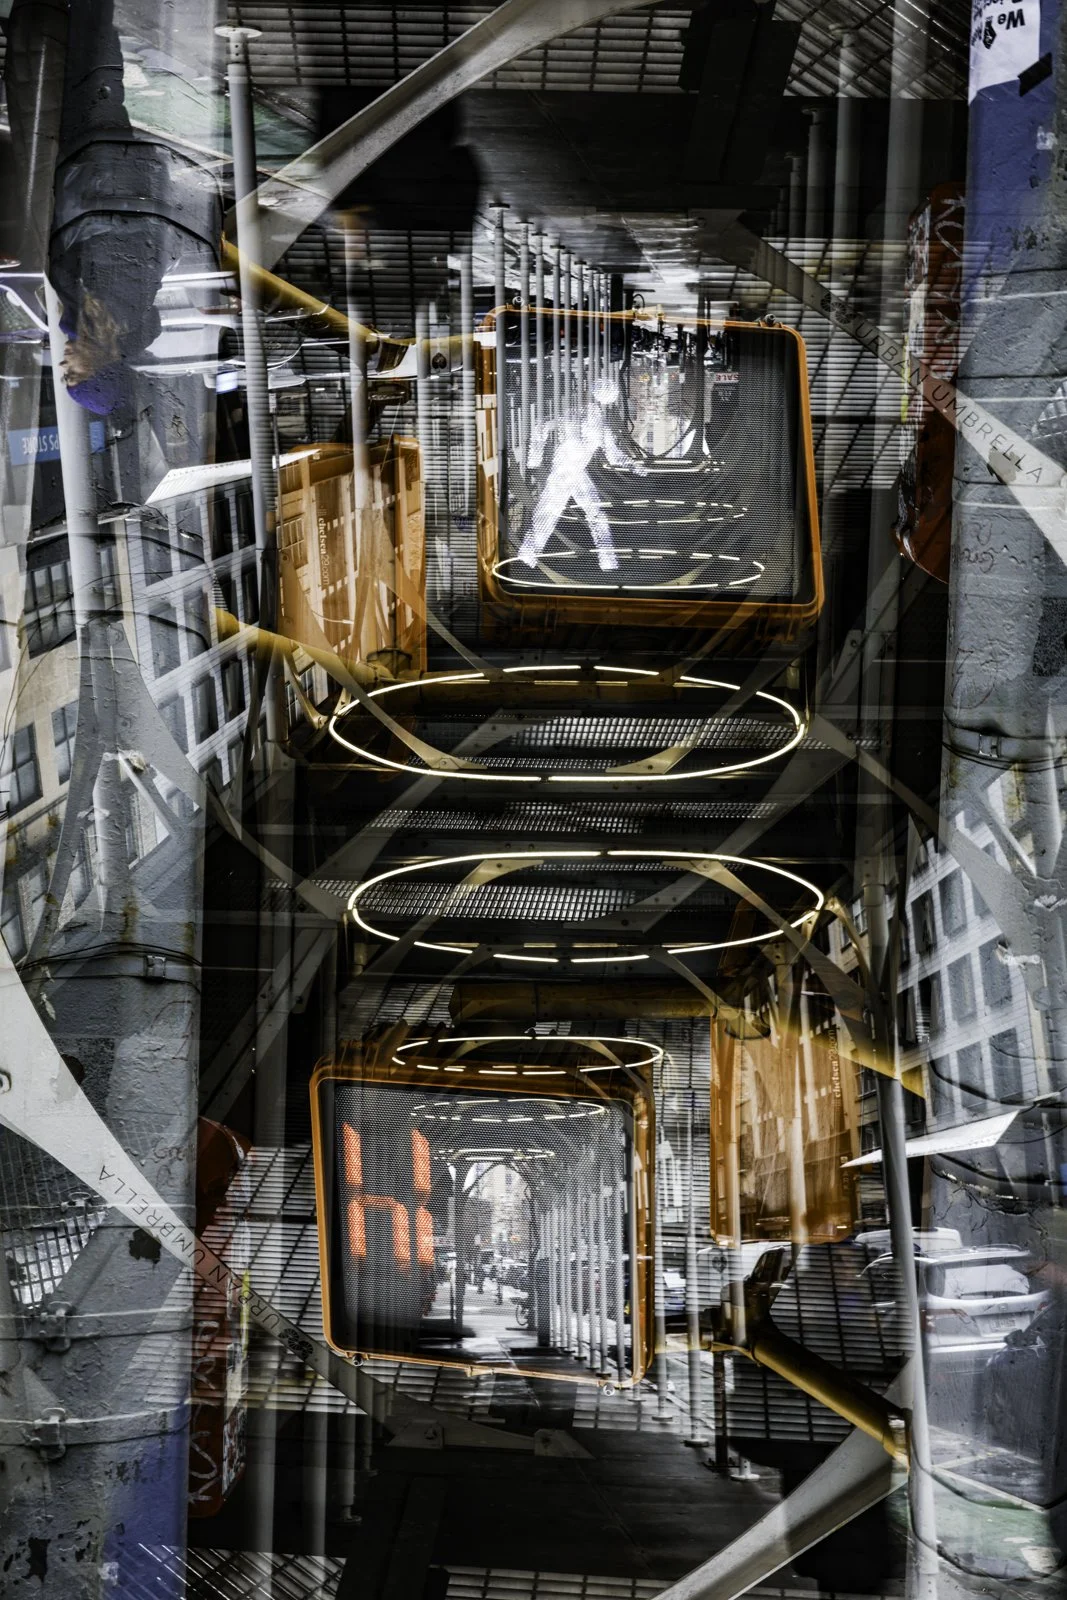
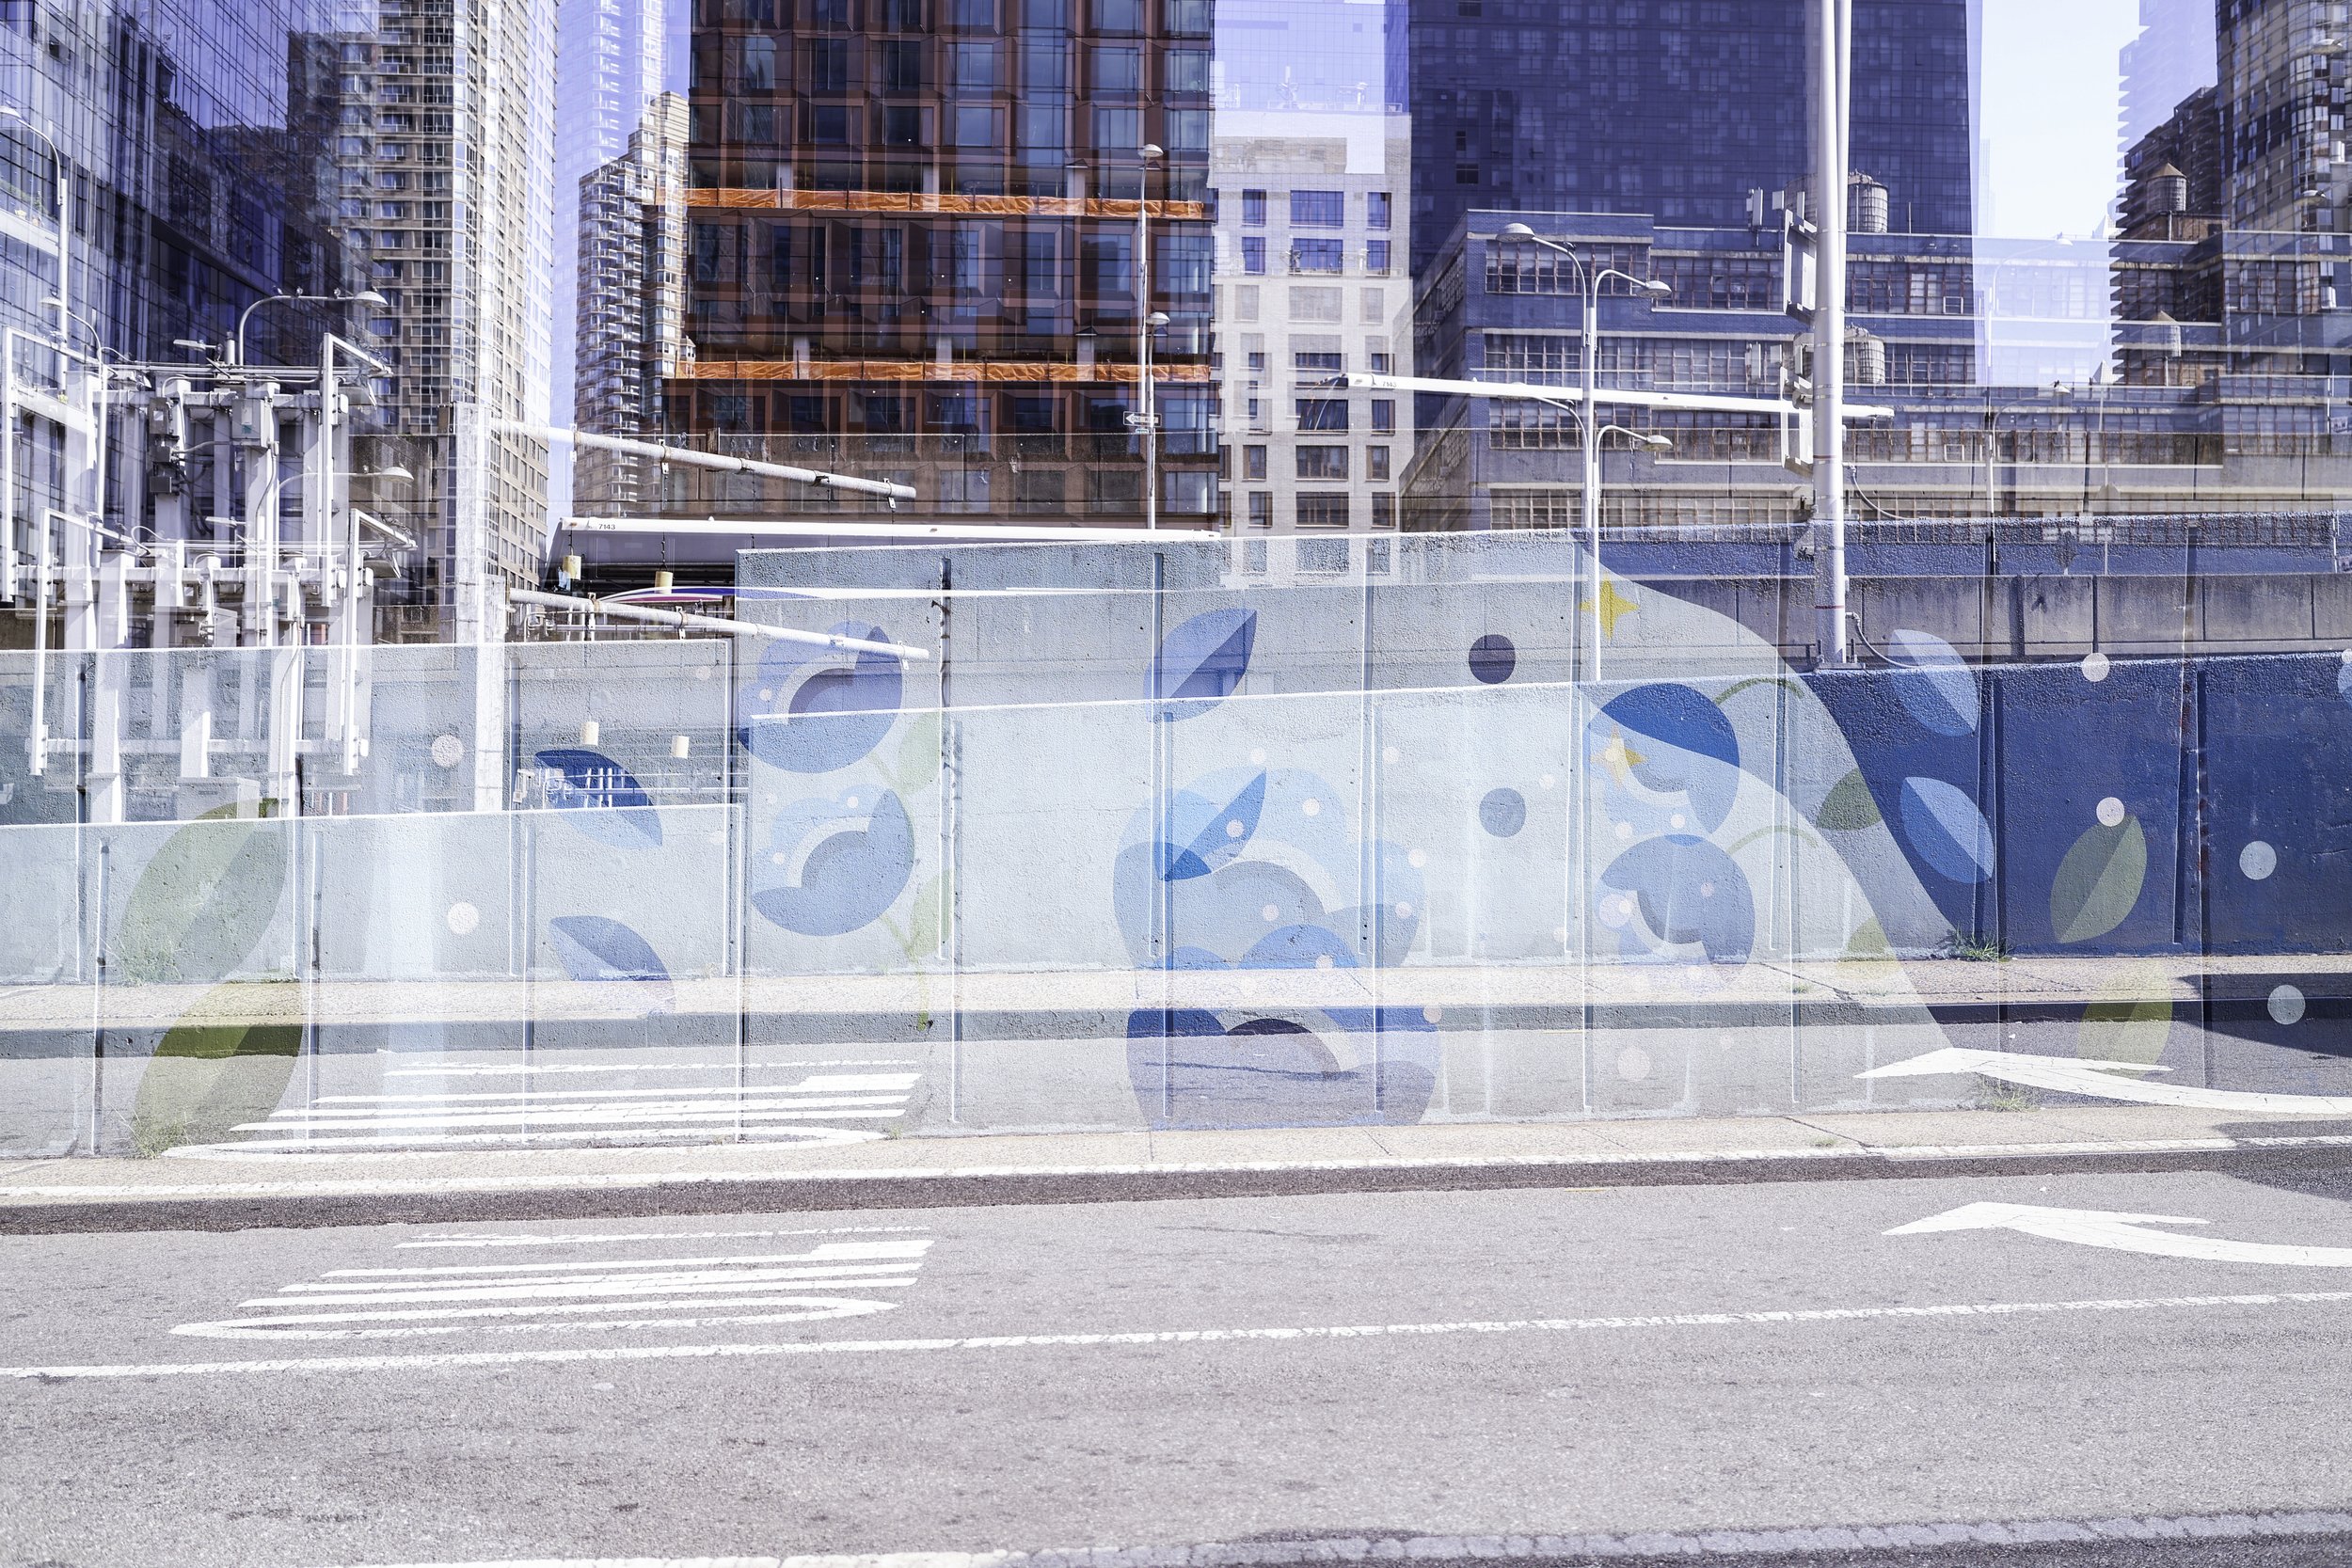
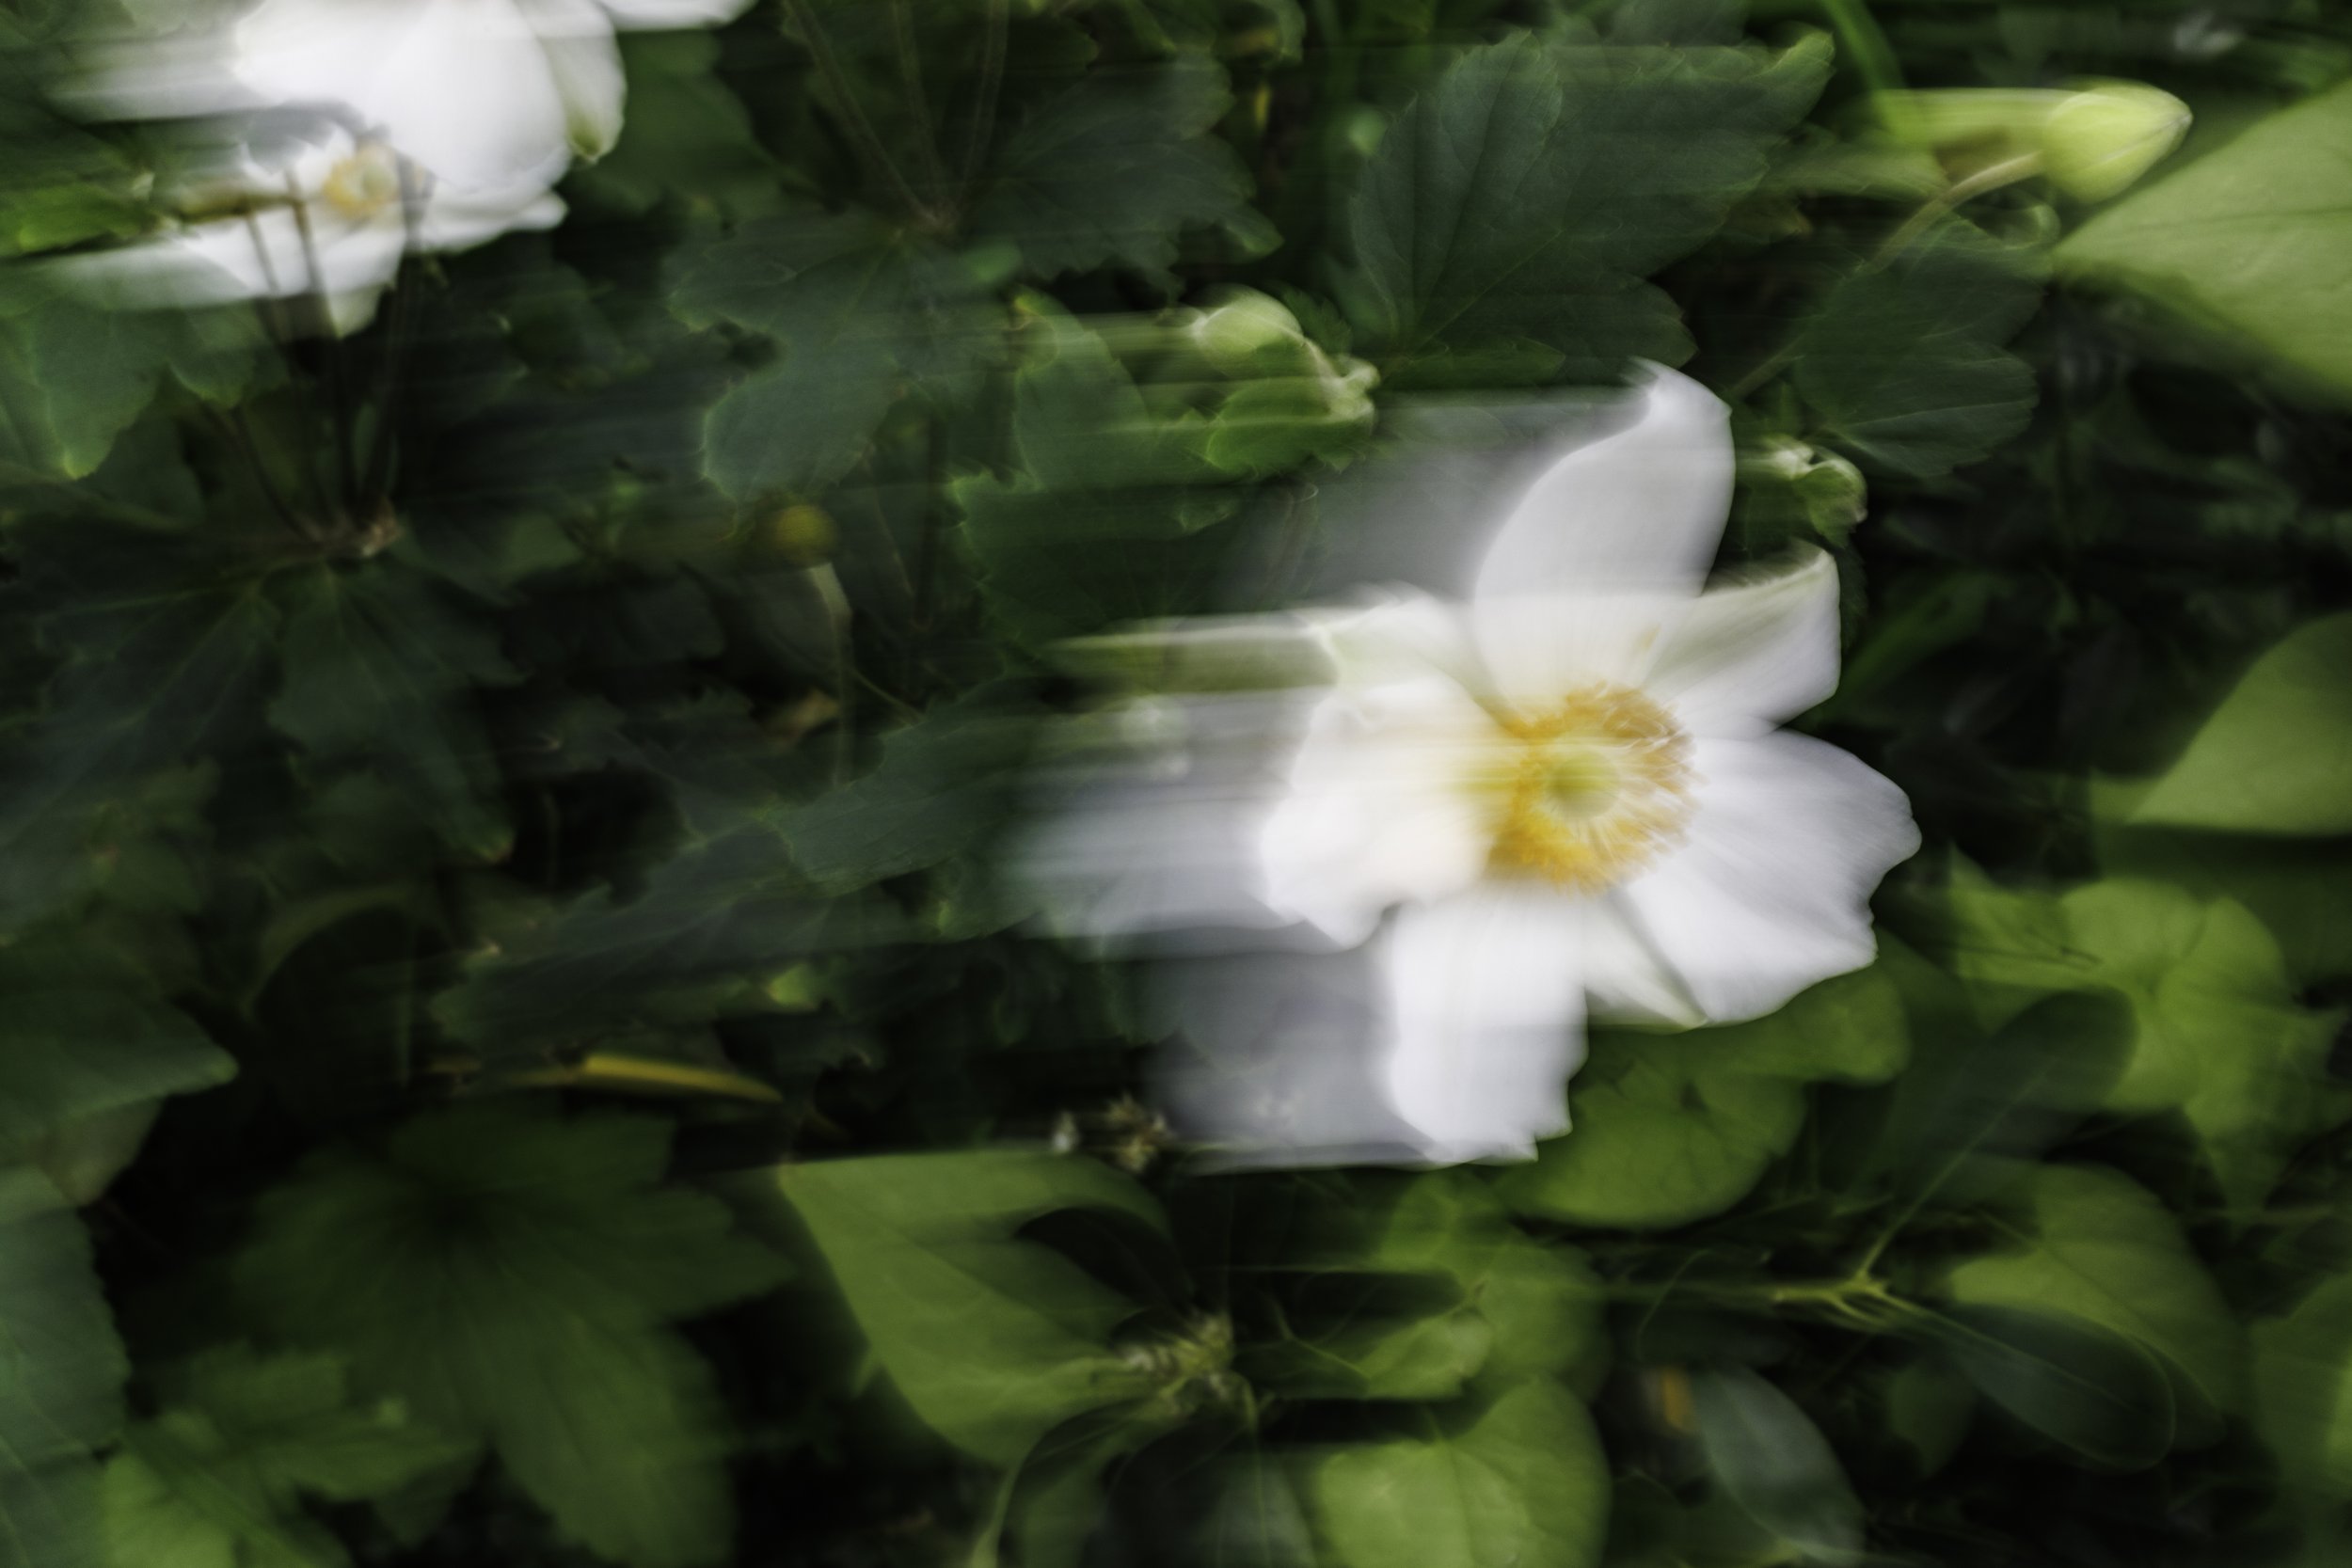
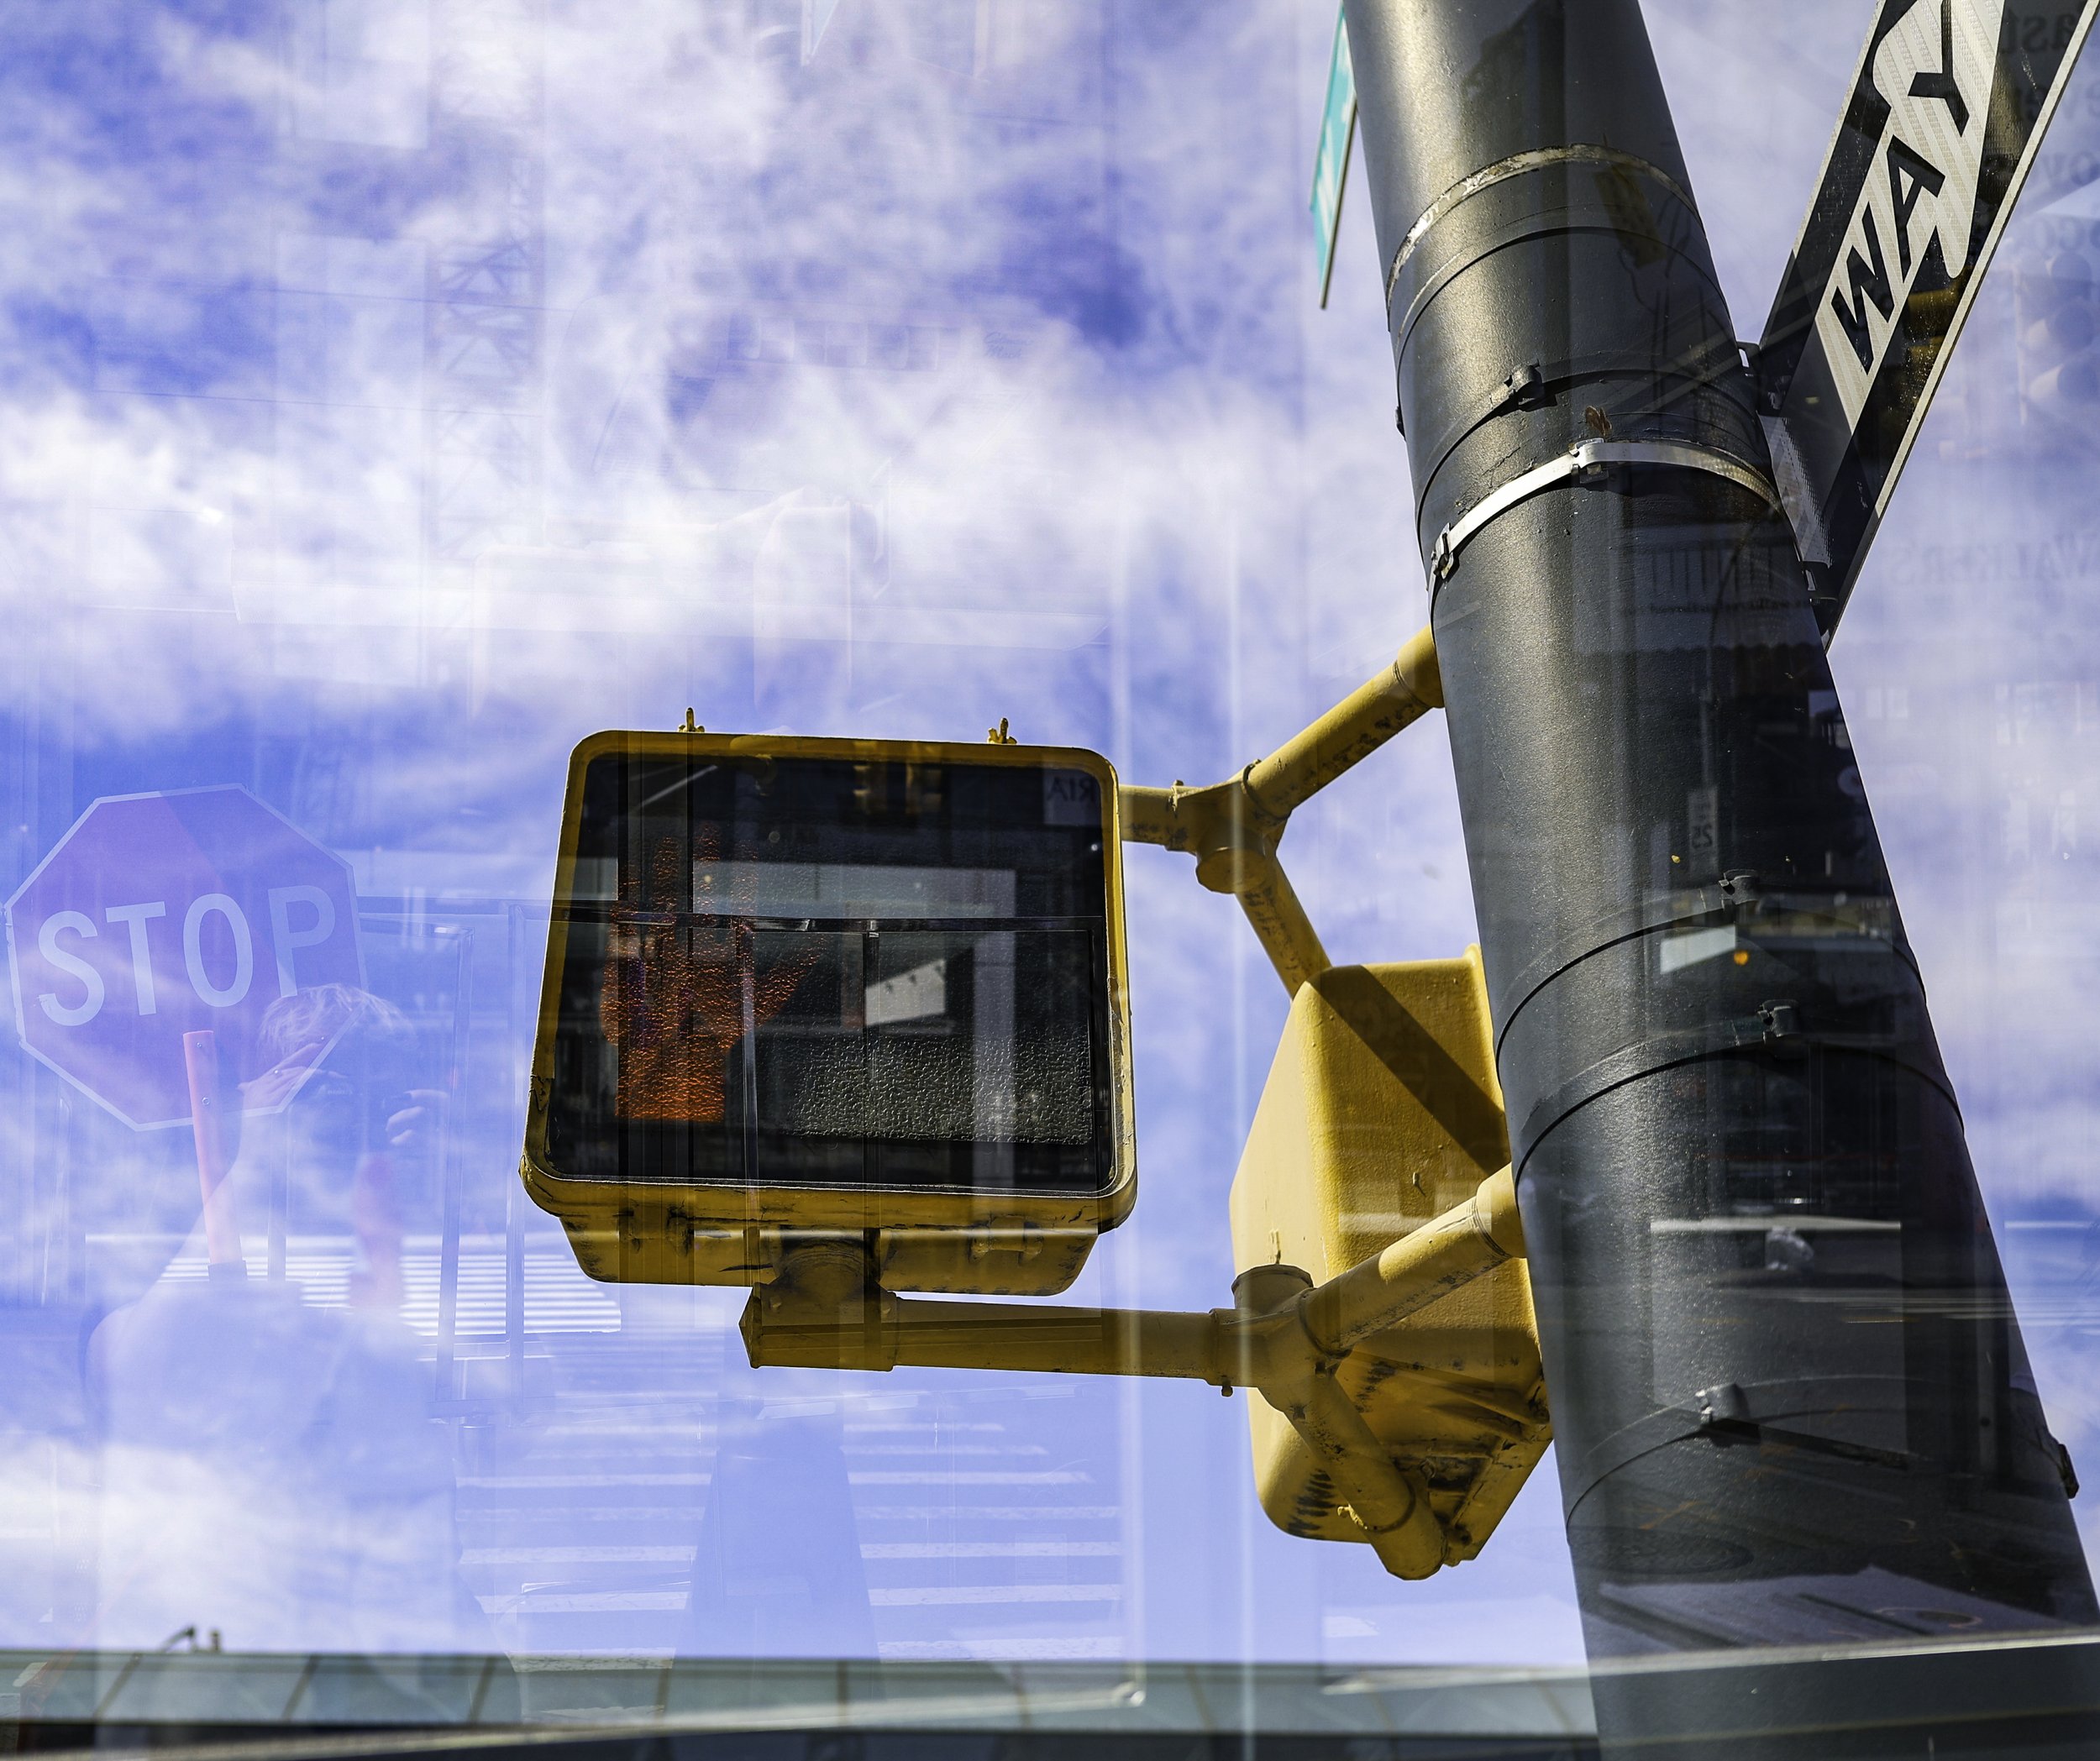
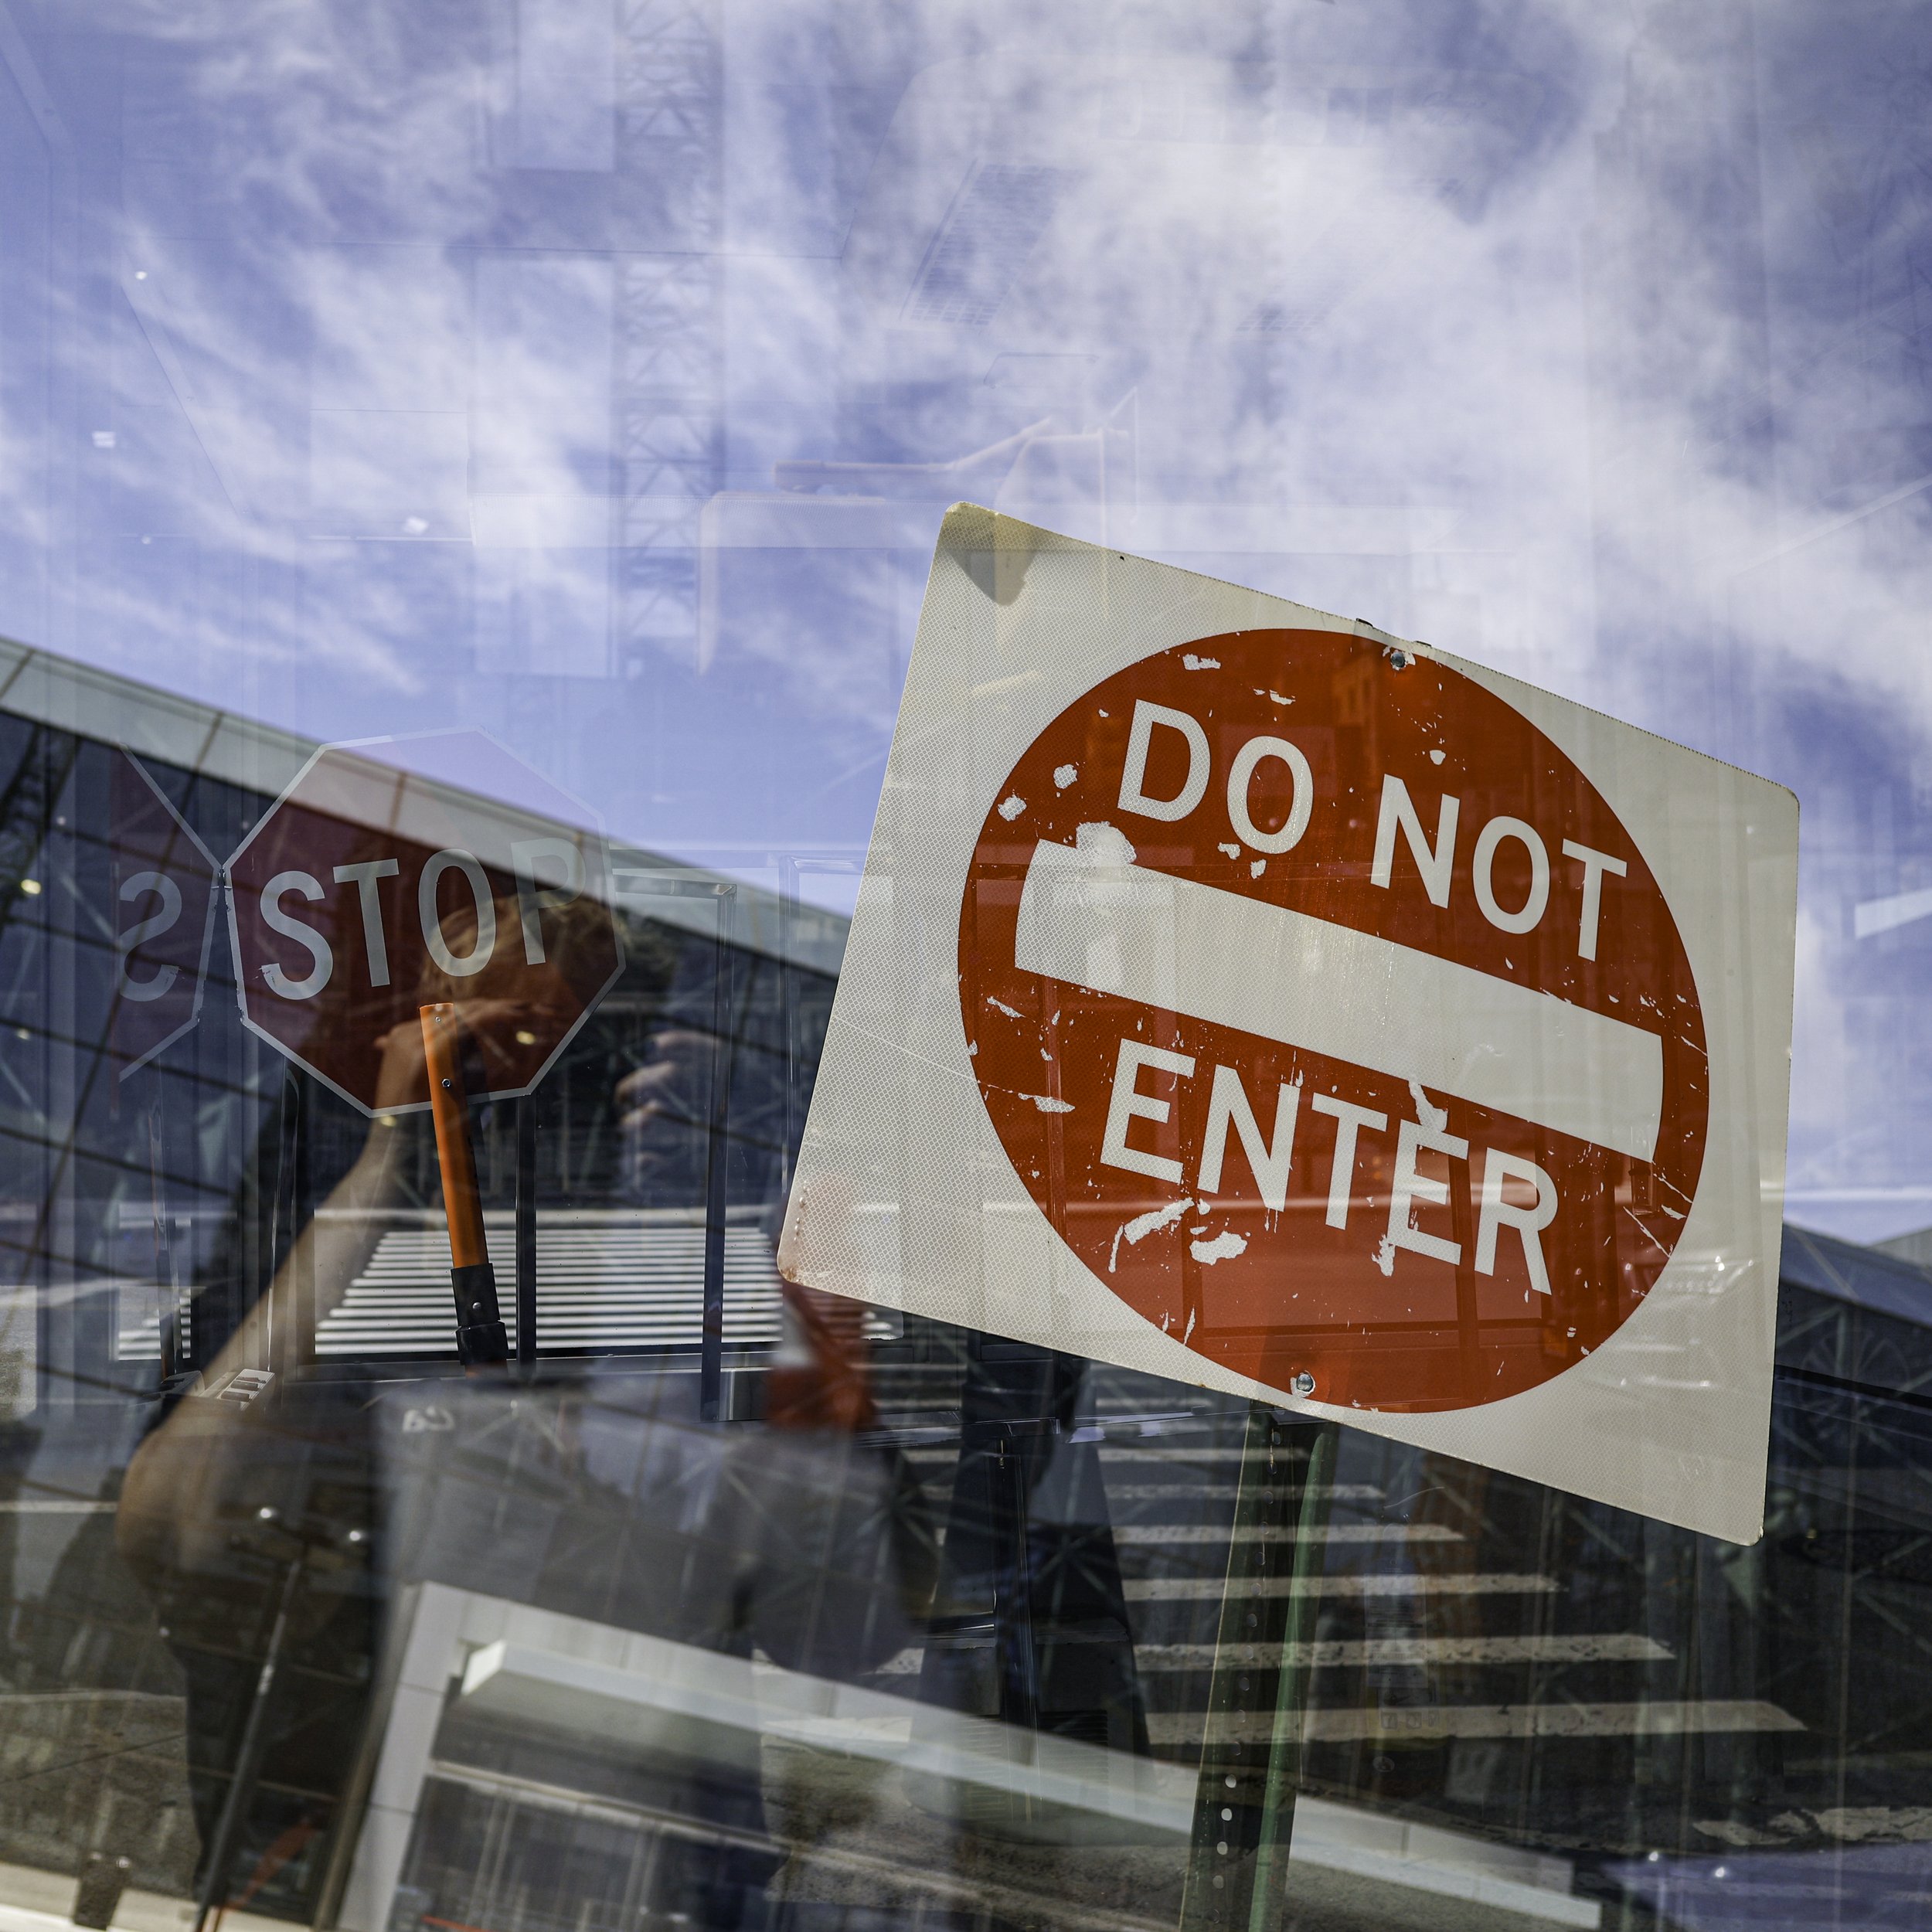
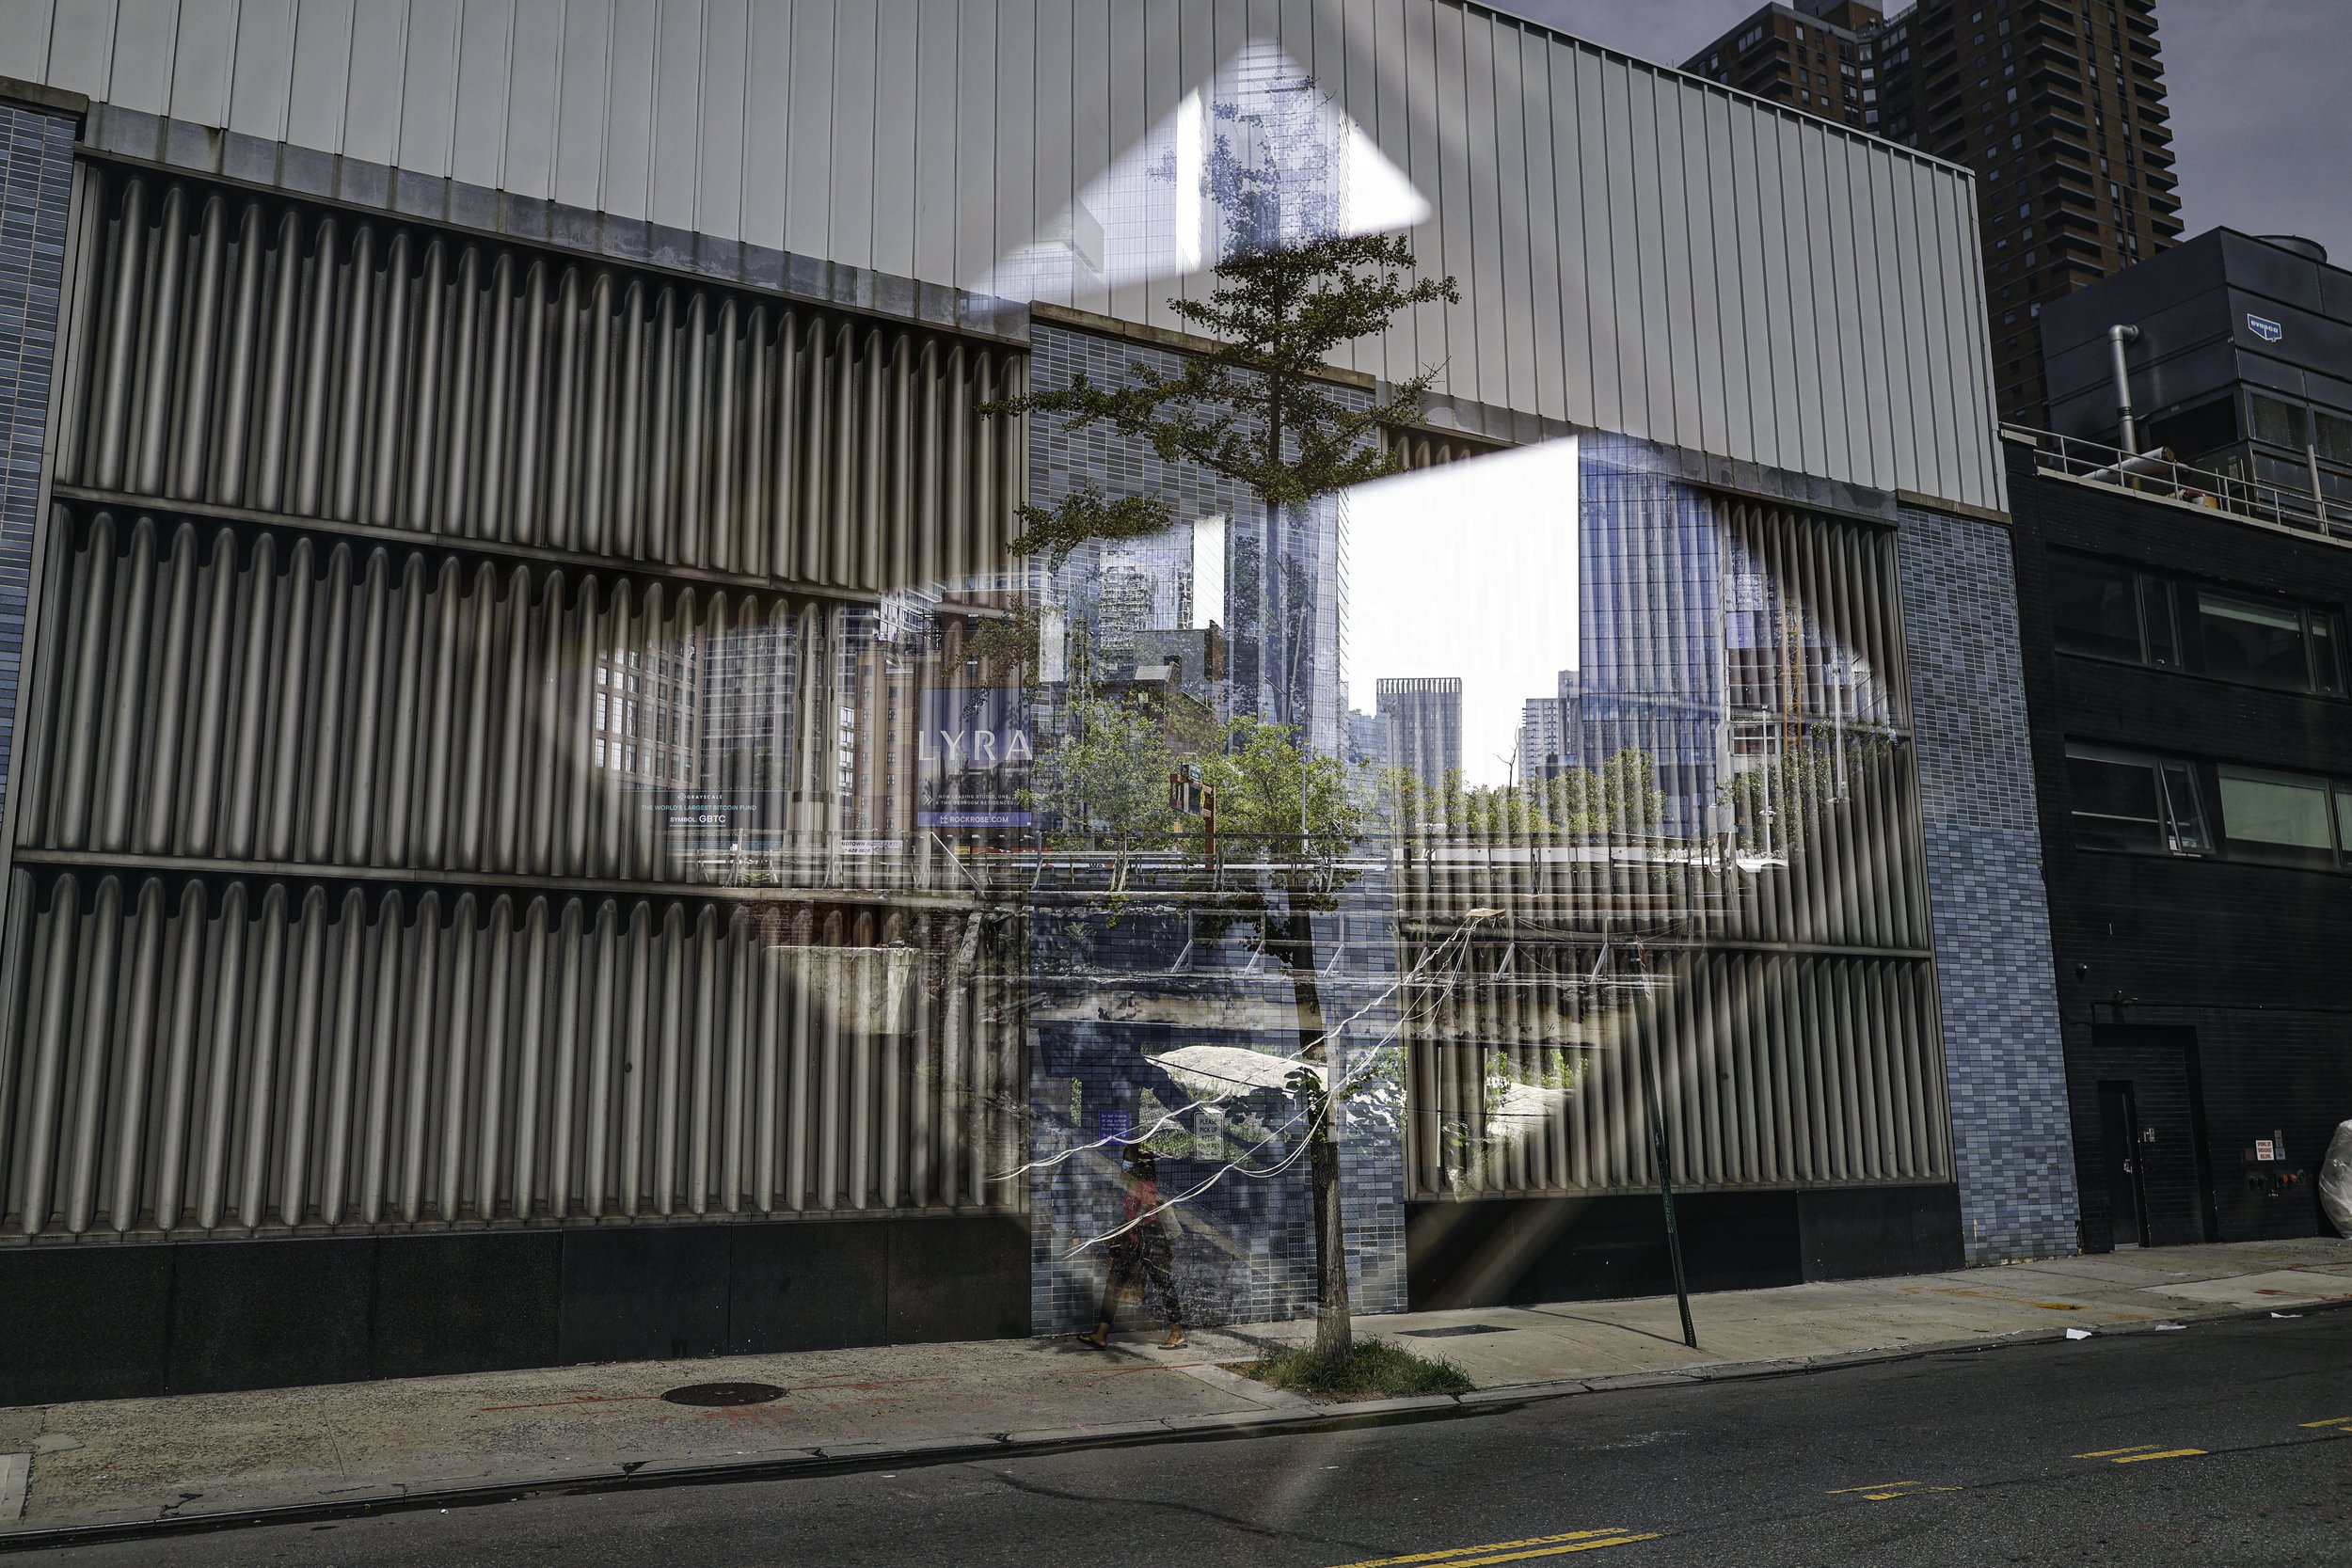
About Multiple Exposure

Multiple Exposure allows you to take between 2-9 images and merge them into one final photo. If you're camera has this feature - often times this is found in the RED Camera shooting menu.


When enabling you have two options.

Func/Ctrl aka Function Control: allows you to take more than one photo - separately. In between images - photos can be reviewed and menus can be navigated.

ContShtng aka Continuous Shooting: allows the capturing of a sequence that gets combined into one photo. Think sports/action movements across a scene.


Save Source imgs: When shooting in the Function Control option - You can choose to save each image captured individually or save only the result.


Continue Mult-exp:

1 shot only: multiple-exposure shooting will be canceled automatically once completed.

Continuously: multiple-exposure shooting continues until you turn it off.


Once enabled you have the option of selecting a control type. You will see Mutli-expos ctrl and get the options listed below. Depending on what camera you have - you make only have the first two.

Additive: The exposure of each single image captured is added together.

Make sure to underexpose each photo.

Exposure compensation setting guidelines by number of photos:

Two images: -I stop, three images:

-1.5 stops, four images: -2 stops

Average: Underexposing is done automatically to average the scene to the standard exposure.

Bright: Preserves the brighter parts of each image - so if you photograph a silhouette against a light background, only the dark silhouette will be filled in with elements from the added exposures.

Dark: Gives exposure priority to dark areas of an image so that they retain their exposure without increasing the brightness of highlight areas when they overlap.

information on multiple exposure